
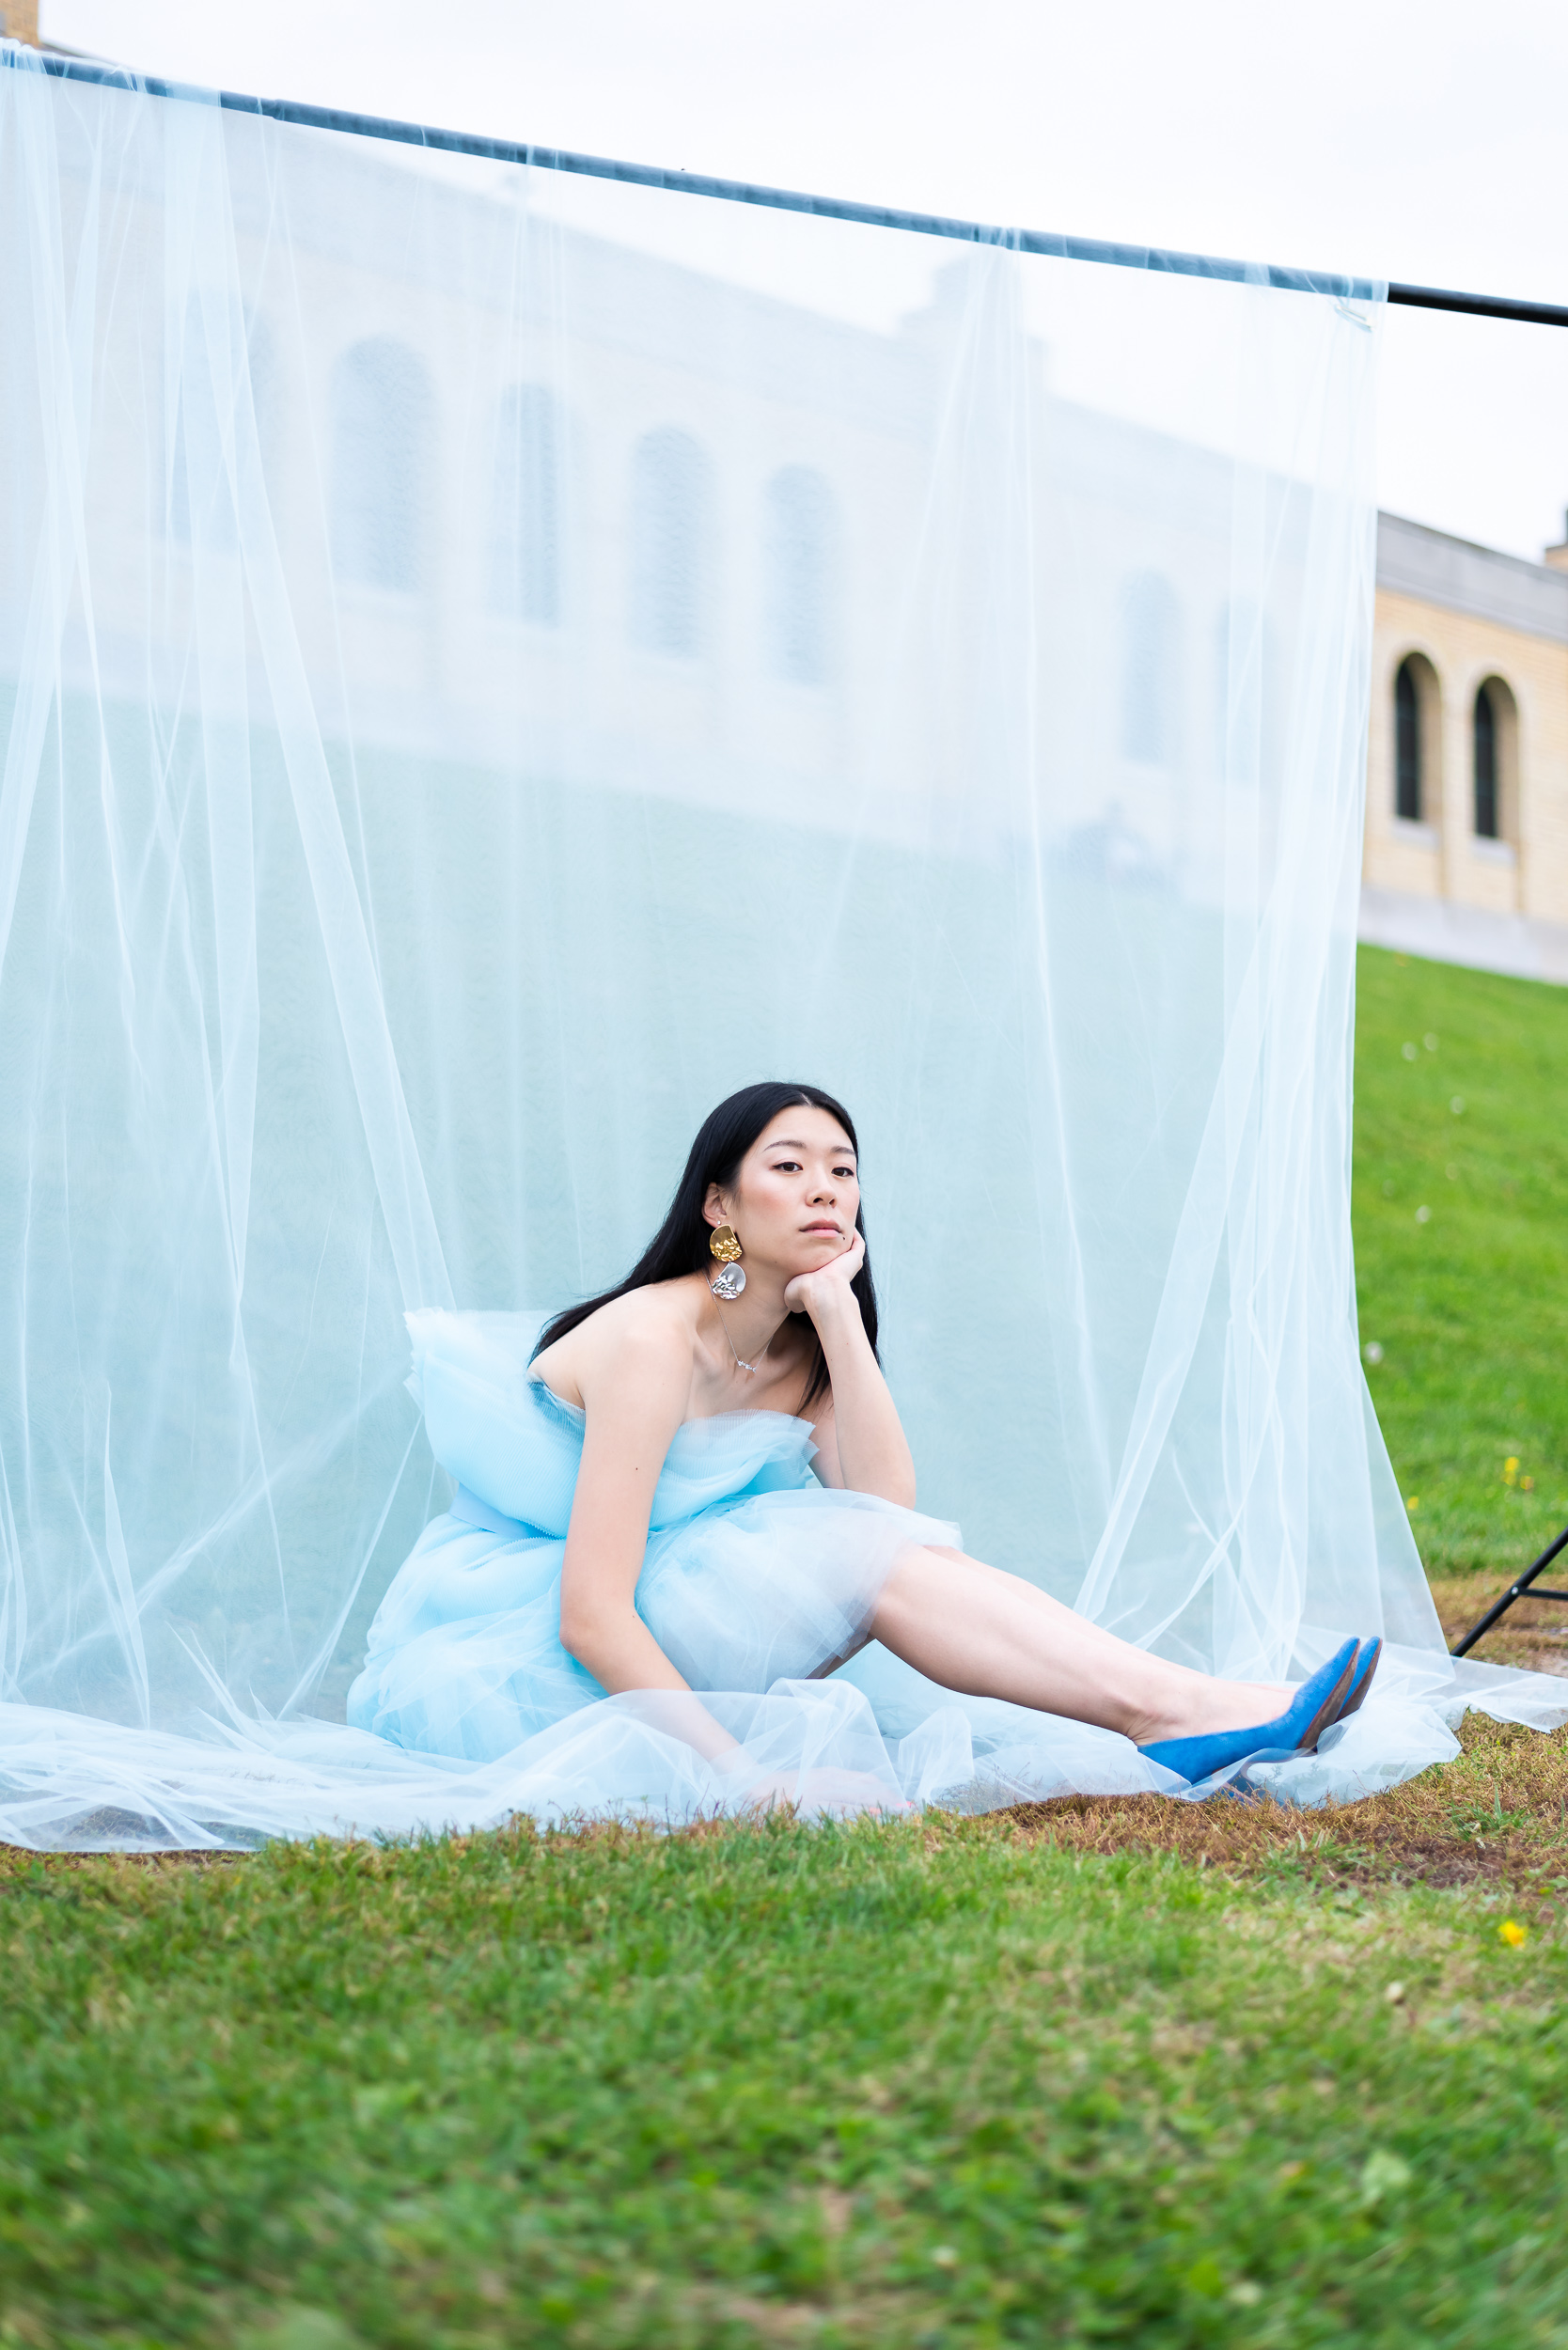
DIY: Tulle Dress (H&M x Giambattista Valli)
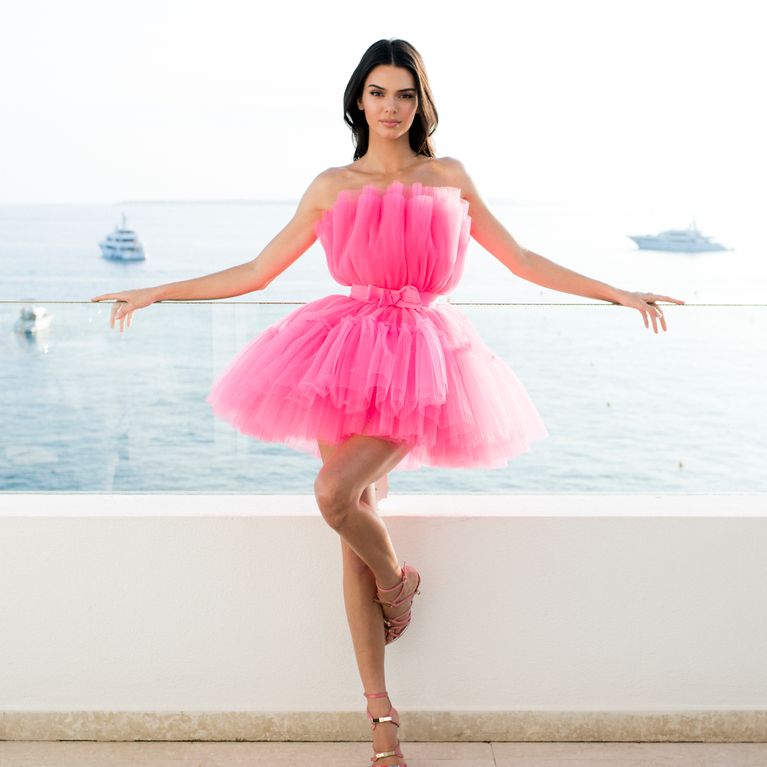

This year’s H&M collaboration is with Giambattista Valli and ever since a mini collection dropped in May I’ve been mulling over how to make my own version of this dress. Here’s how that went!

You will need:
20 yards of 108” wide tulle (40 yards if using 54” wide tulle) - I got mine from here
I got mine pleated here
1.5 yards of 1.5” wide grosgrain ribbon (ideally matching colour)
1 yard of 1” wide elastic band with medium stretchiness
3 small hook and eye closures
20 large safety pins
matching 20” invisible zipper
matching thread
a corset

Why did I include a corset? I’ll try to explain since it’s certainly not my personal preference (this is a friendly reminder to breathe in case you forgot while wearing a corset; because I did). With strapless dresses, it is ideal for them to have an internal structure that helps it to defy gravity now that it no longer has your lovely shoulders to hold it up. Adding internal structure (such as boning/wires) to a dress is a bit too advanced for me, so I thought a good trick would be to wear a corset on the inside. Small hooks and attachments can be added anywhere on the corset to help it hold the dress in place and a corset is so fitted it really can’t slide around on your body. In retrospect, it would have been much better in a skin tone corset, but I couldn’t pass up the price of this black one at the thrift store.
Here we go:
If possible, have 10 yards of the fabric pleated
Cut the 10 yards of pleated fabric into 12 equal pieces that are each 18” tall and ~2.5 yards wide
Cut 12 inch wide strips of the un-pleated tulle, the full 10 yards in length
Baste one long edge on each tulle strip, using a stitch length and tension setting that gives it a gentle gather (mine was stitch length 5 and tension 6)
Sew one long edge of the pleated tulle to the gathered edge of the tulle strip, you may have to combine strips of tulle to make it all the way
You should now have 12 layers of the dress, each identical, with a pleated tulle rectangle sewn to a gathered tulle strip
Stack all 12 layers right sides in the same direction, optional to have the 6 inner layers sit 1.5” higher than the 6 outer layers
Add 20 safety pins at equal distance along the waist area of the skirt, making sure you go through all 12 layers so you can move the fabric easily
Cut the elastic band to sit snugly around your waist
Mark 20 equal distance points along the elastic band
Starting from the left of the elastic band, write down the following numbers along the points:
19, 21, 23, 25, 26, 26, 25, 23, 21, 19, 19, 19, 18, 18, 18, 18, 18, 18, 19, 19Sew the elastic band to the dress using a vertical stitch that aligns each safety pin with a band marking, and use the written number as the distance between the top edge of the elastic and the top edge of the skirt (in cm, please forgive my imperial/metric lifestyle). This is to make the dress sit a bit higher in the front (26 cm tall) and lower in the back (18 cm tall)
Attach the invisible zipper to the two open sides of the dress to bring it into a complete circle
Try on the dress and trim the tulle as needed
Cut the ribbon to sit snugly around the waist of the dress, but add 2 cm so that a 1 cm edge can be folded back on both sides
Fold each end of the ribbon over by 1 cm and sew with a straight stitch to prevent fraying
Hand sew 2 hook and eye closures to the ribbon, one at the top edge, one at the bottom edge, and one in the middle (it should now be a belt)
Tie the remaining ribbon into a cute bow, this can be attached to the belt via snaps or velcro after the belt is secured


Watch the video here: