DIY: Faaancy Accessories
I’ve been noticing that the hot items on the red carpet seem to be accessories instead of dresses and suits, so here’s how I tackled making four of this year’s most popular looks.
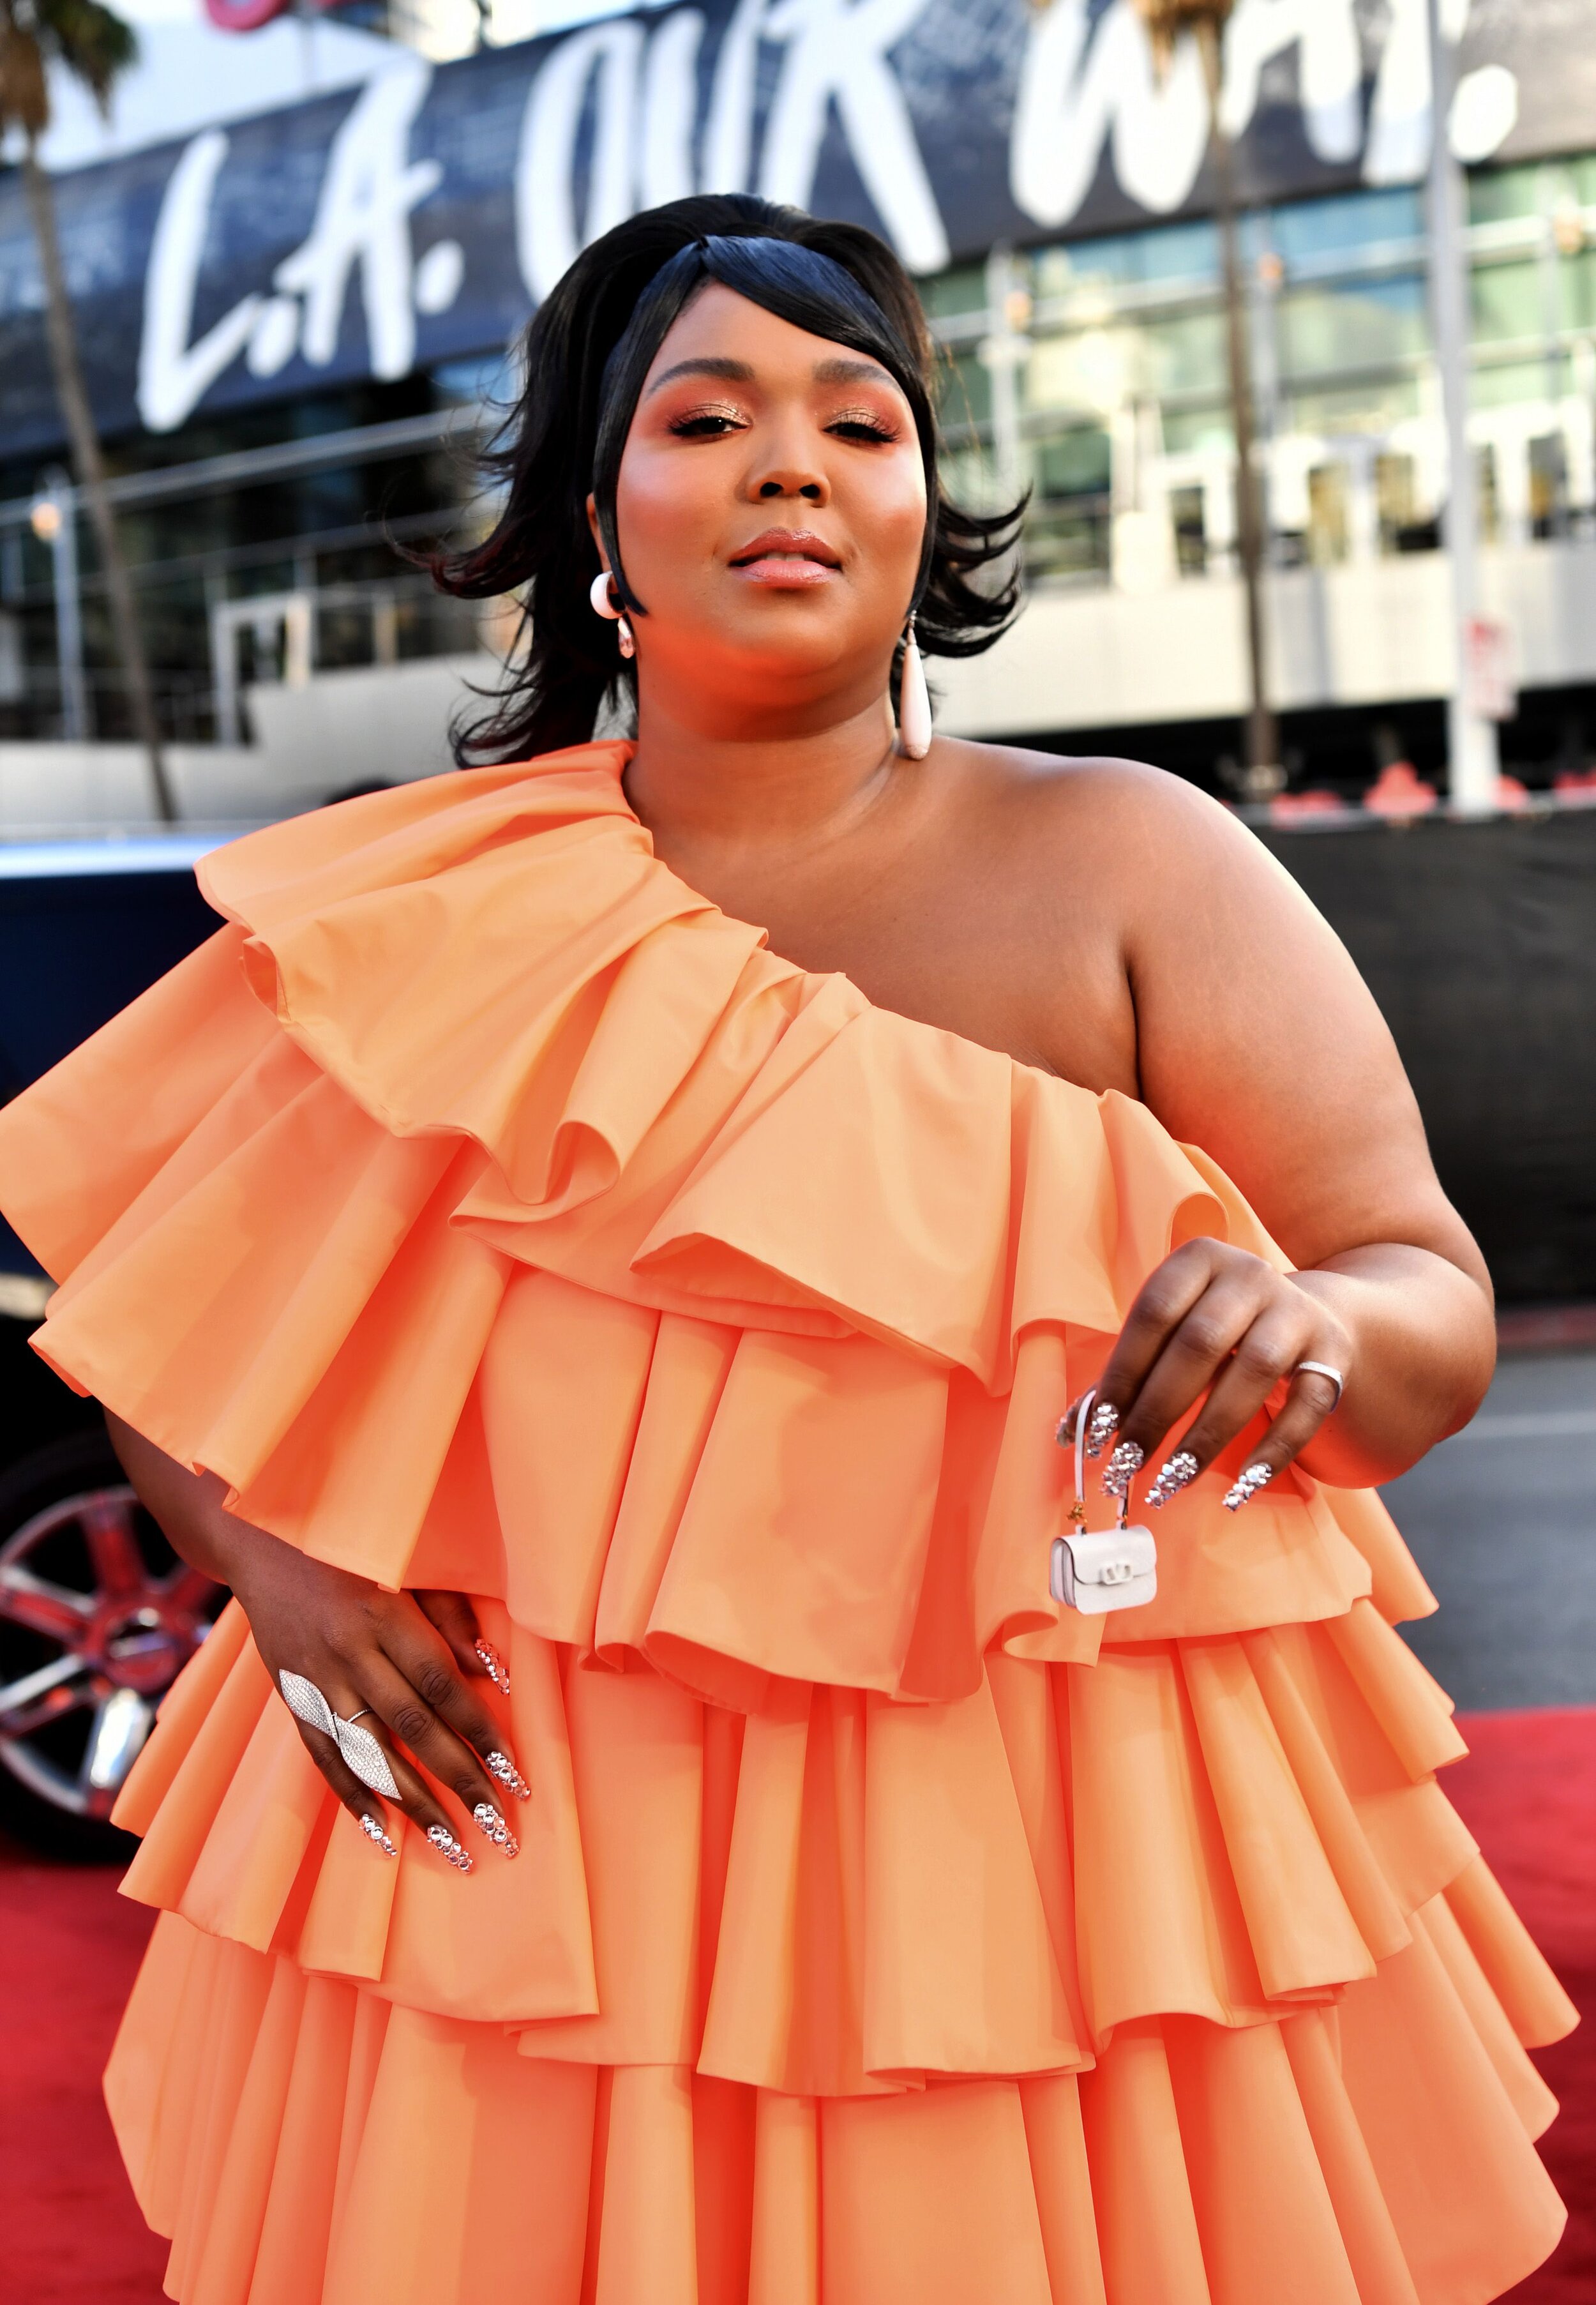
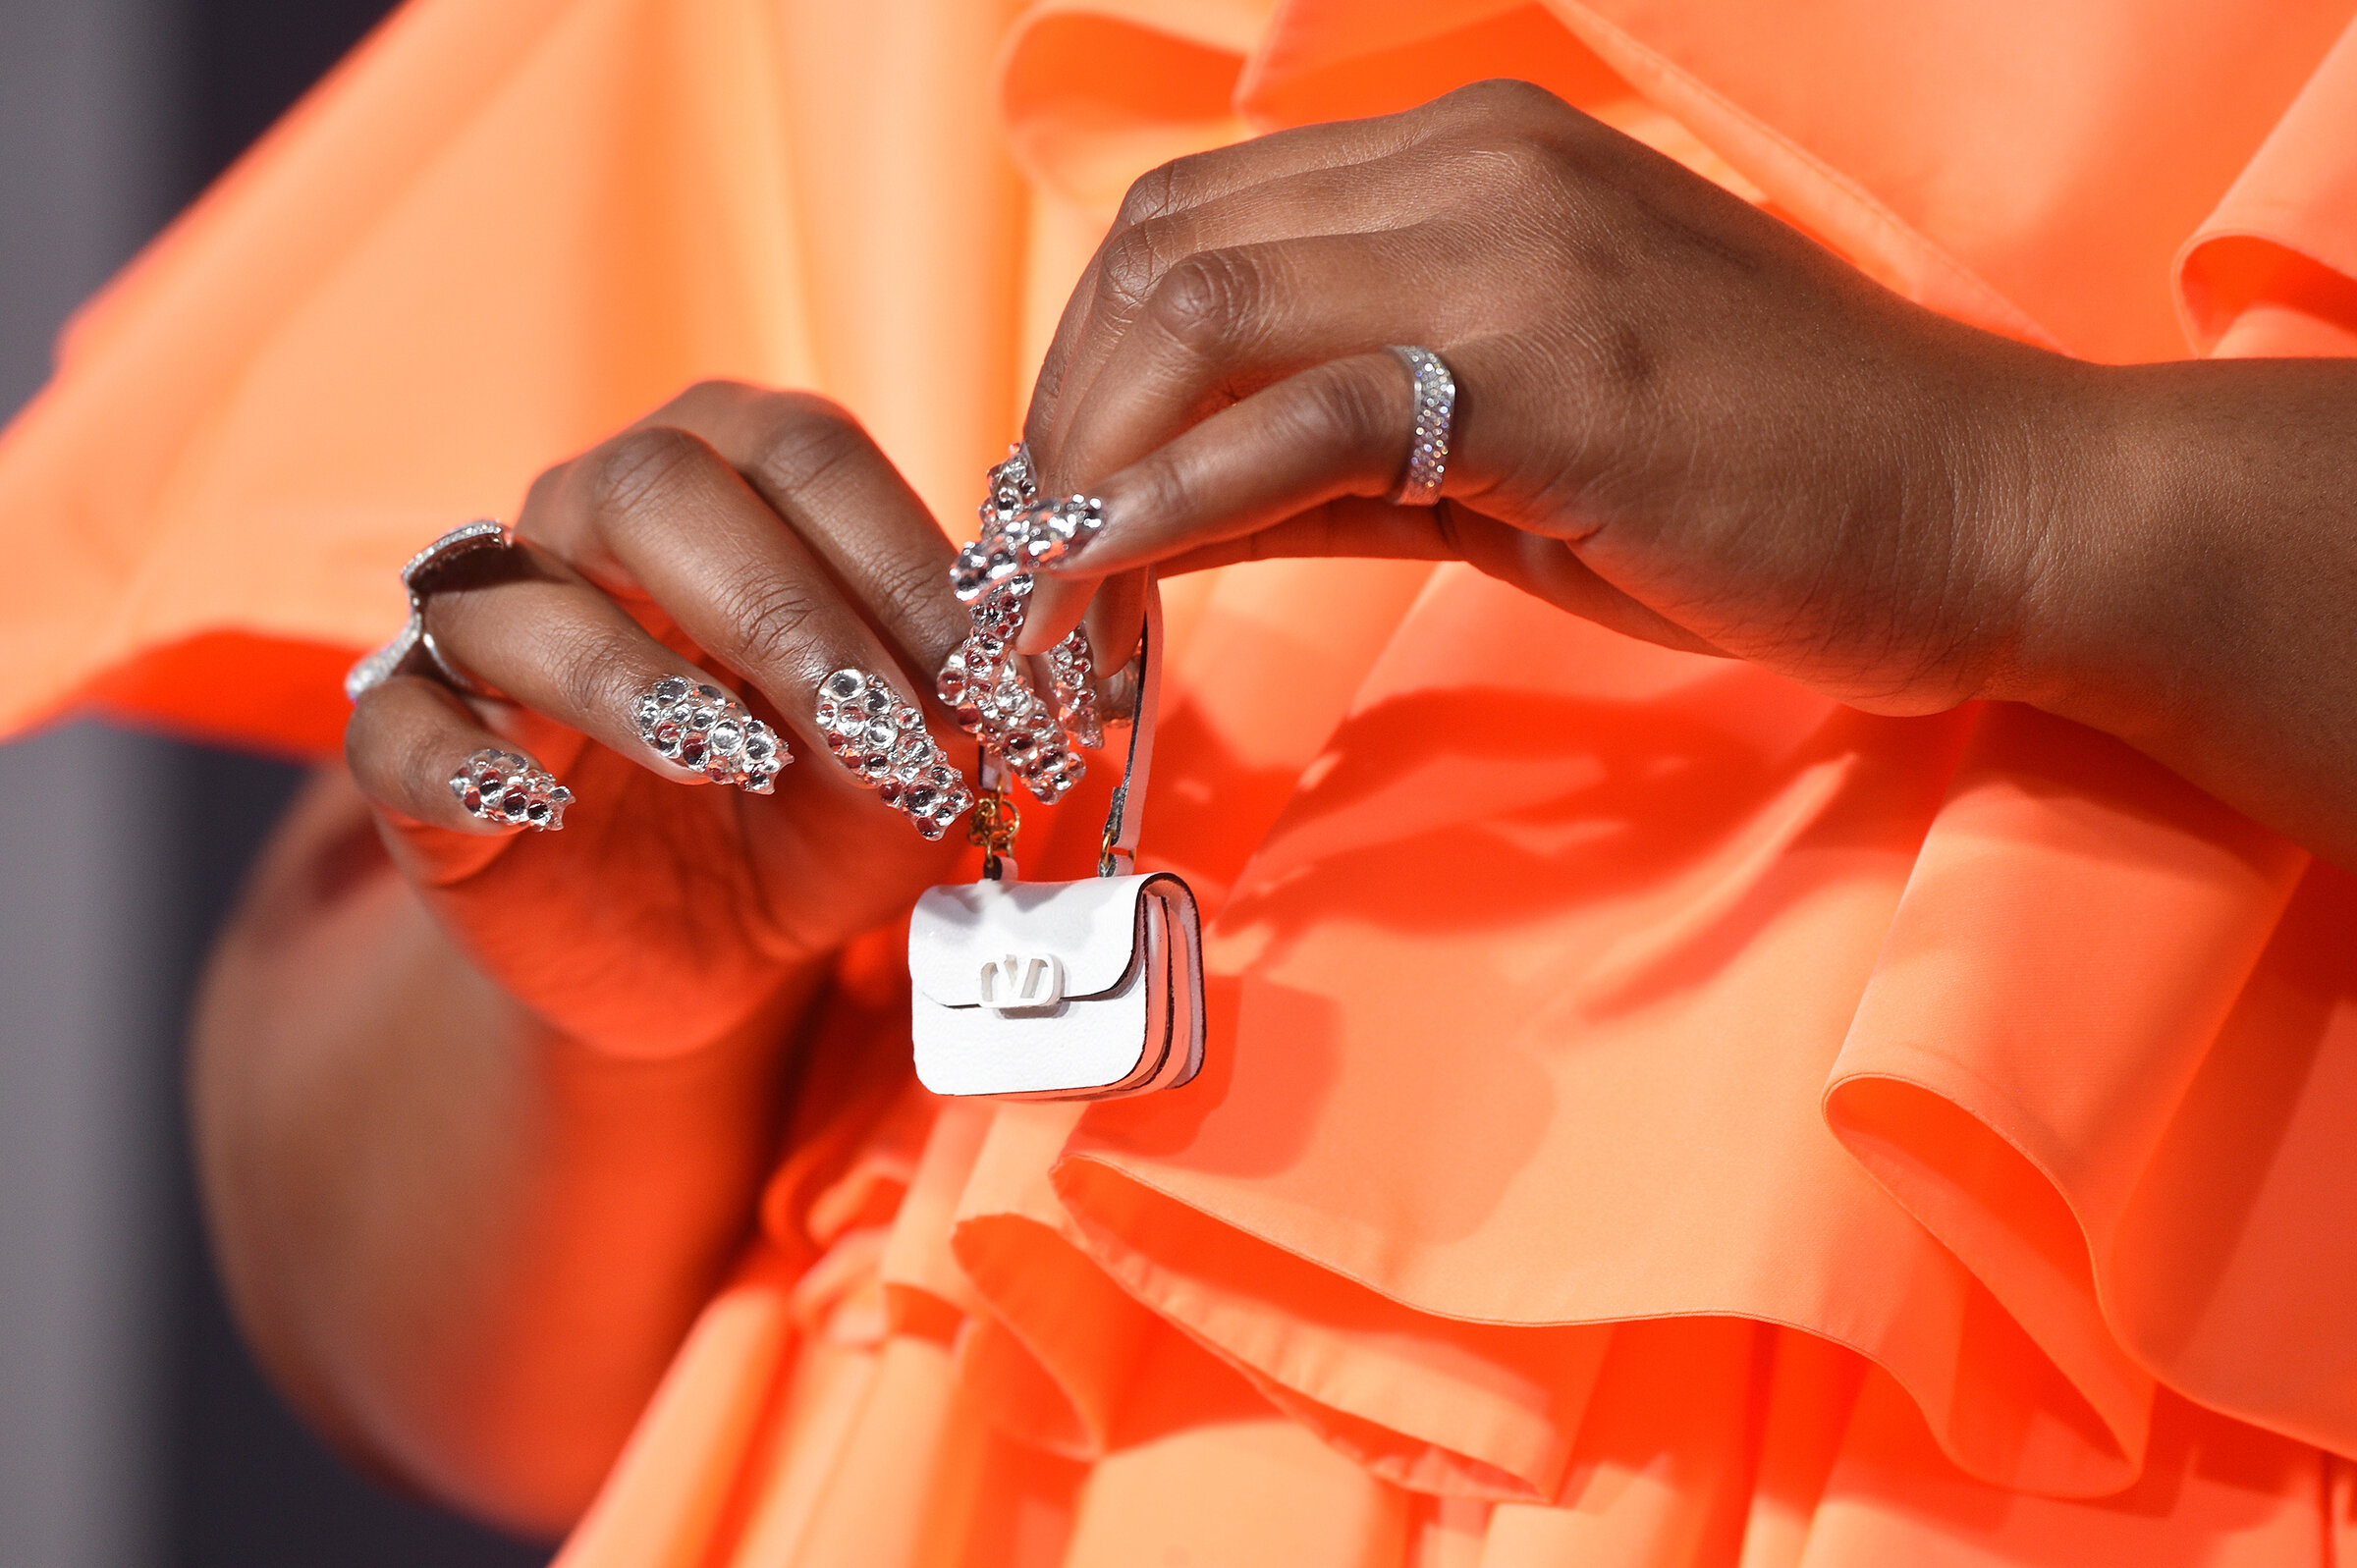
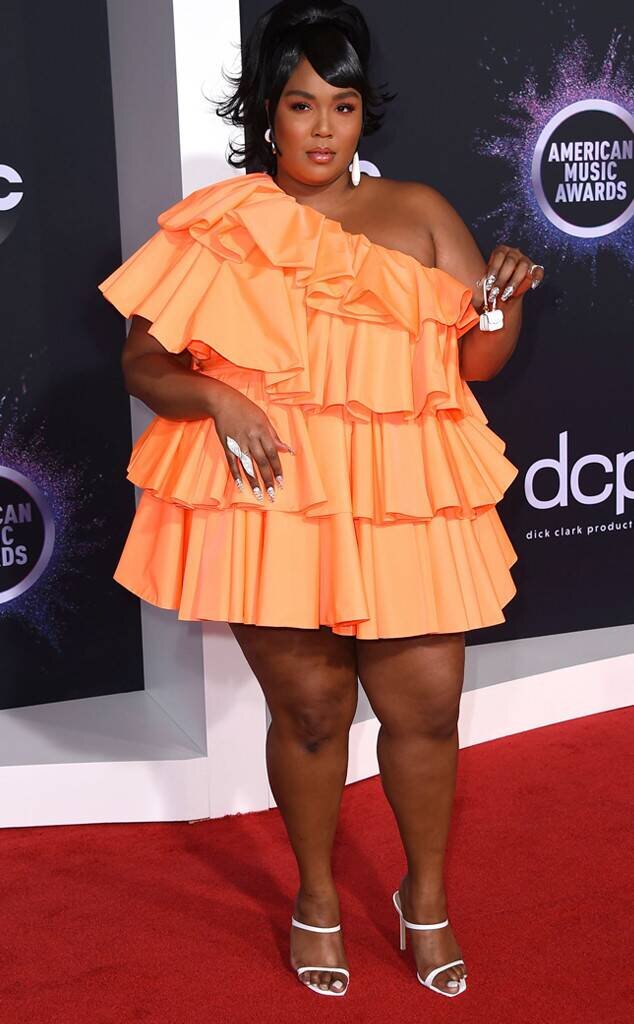
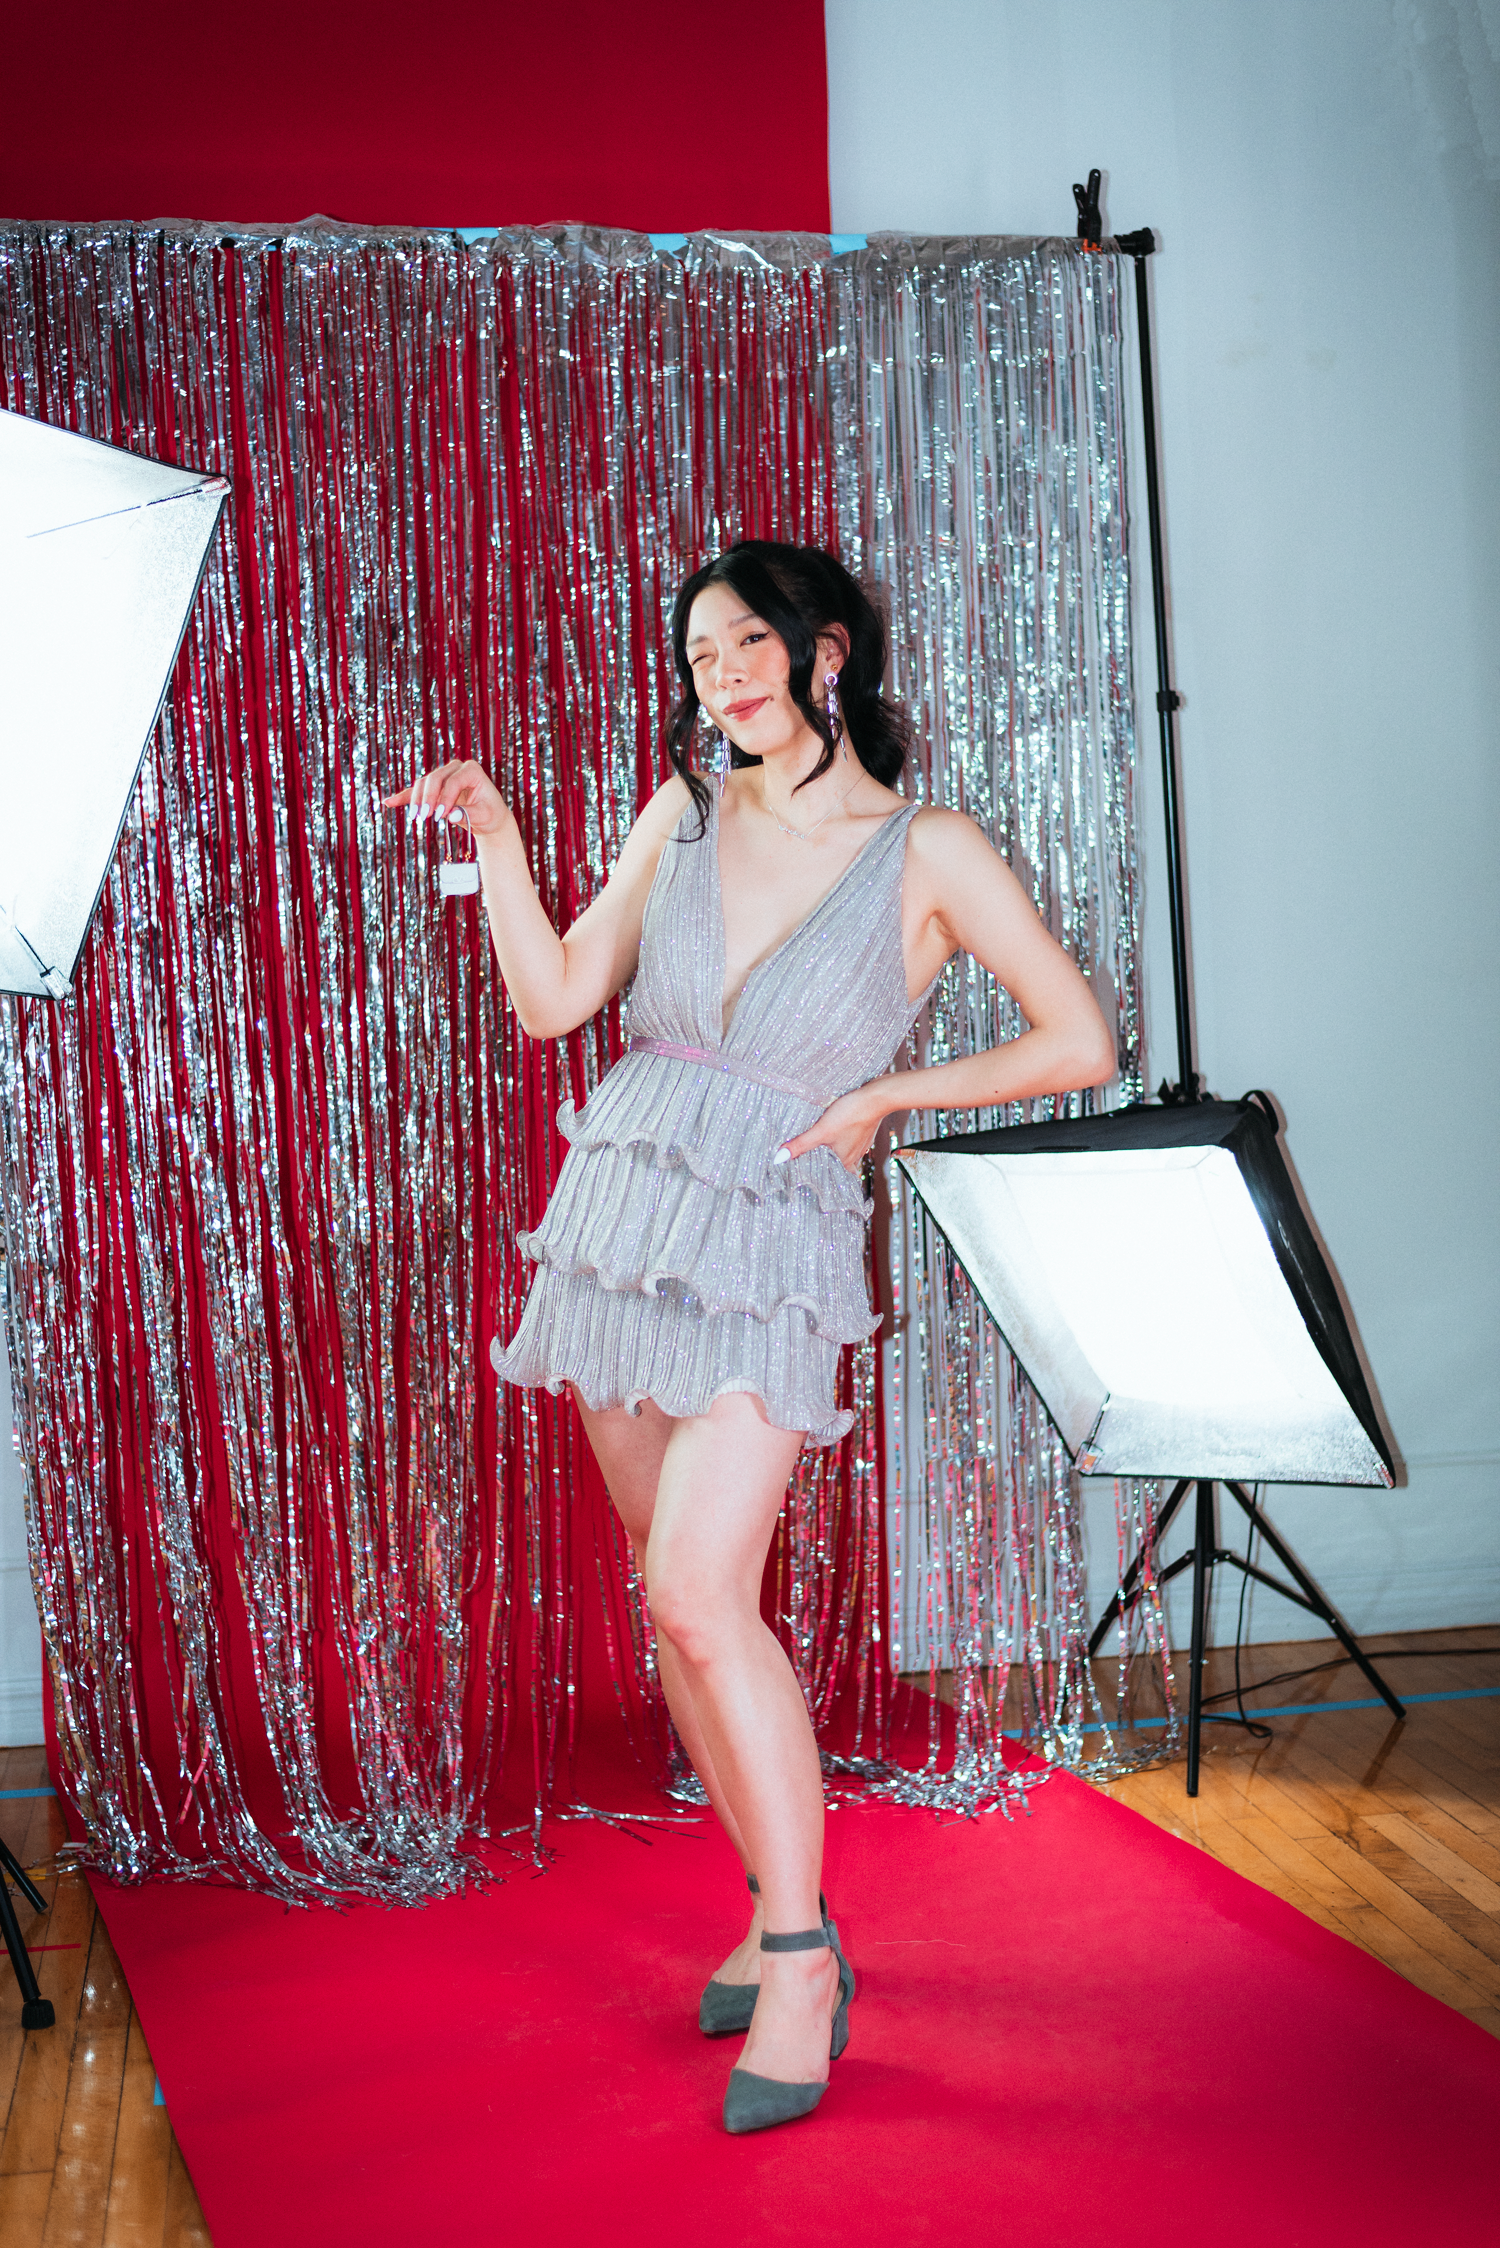
Look 1: Lizzo’s Very Tiny Valentino
Dimensions
Here are the sizes I cut out:
Front panel: 3 cm x 4 cm
Back panel: 6 cm x 4 cm
Bottom and sides: 3 cm x 10 cm
Strap: 0.3 cm x 10 cm
Bag loops (2 in total): 0.3 cm x 2 cm
Watch the video at the end of this post to see how it was assembled.

Sharpie Paint Marker
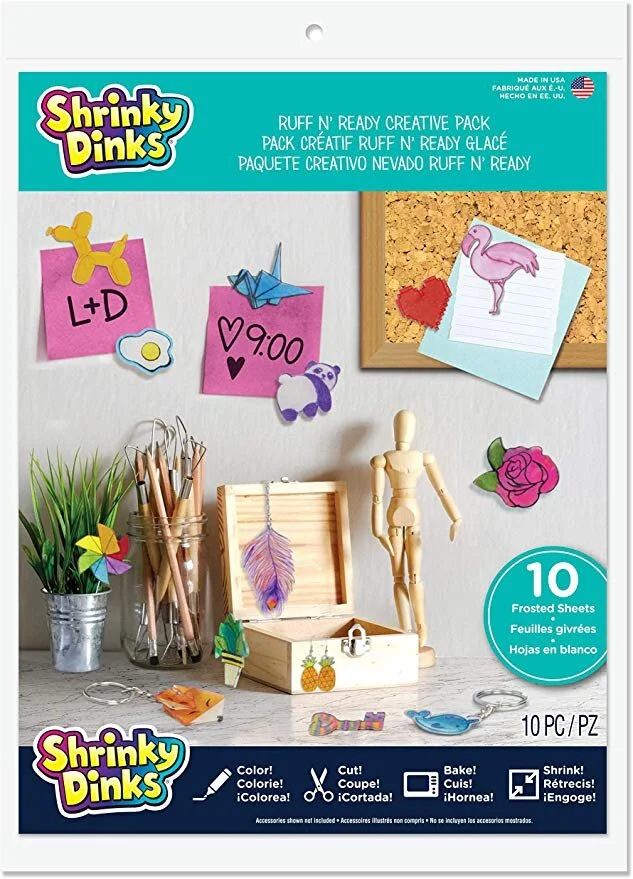
Shrinky Dinks


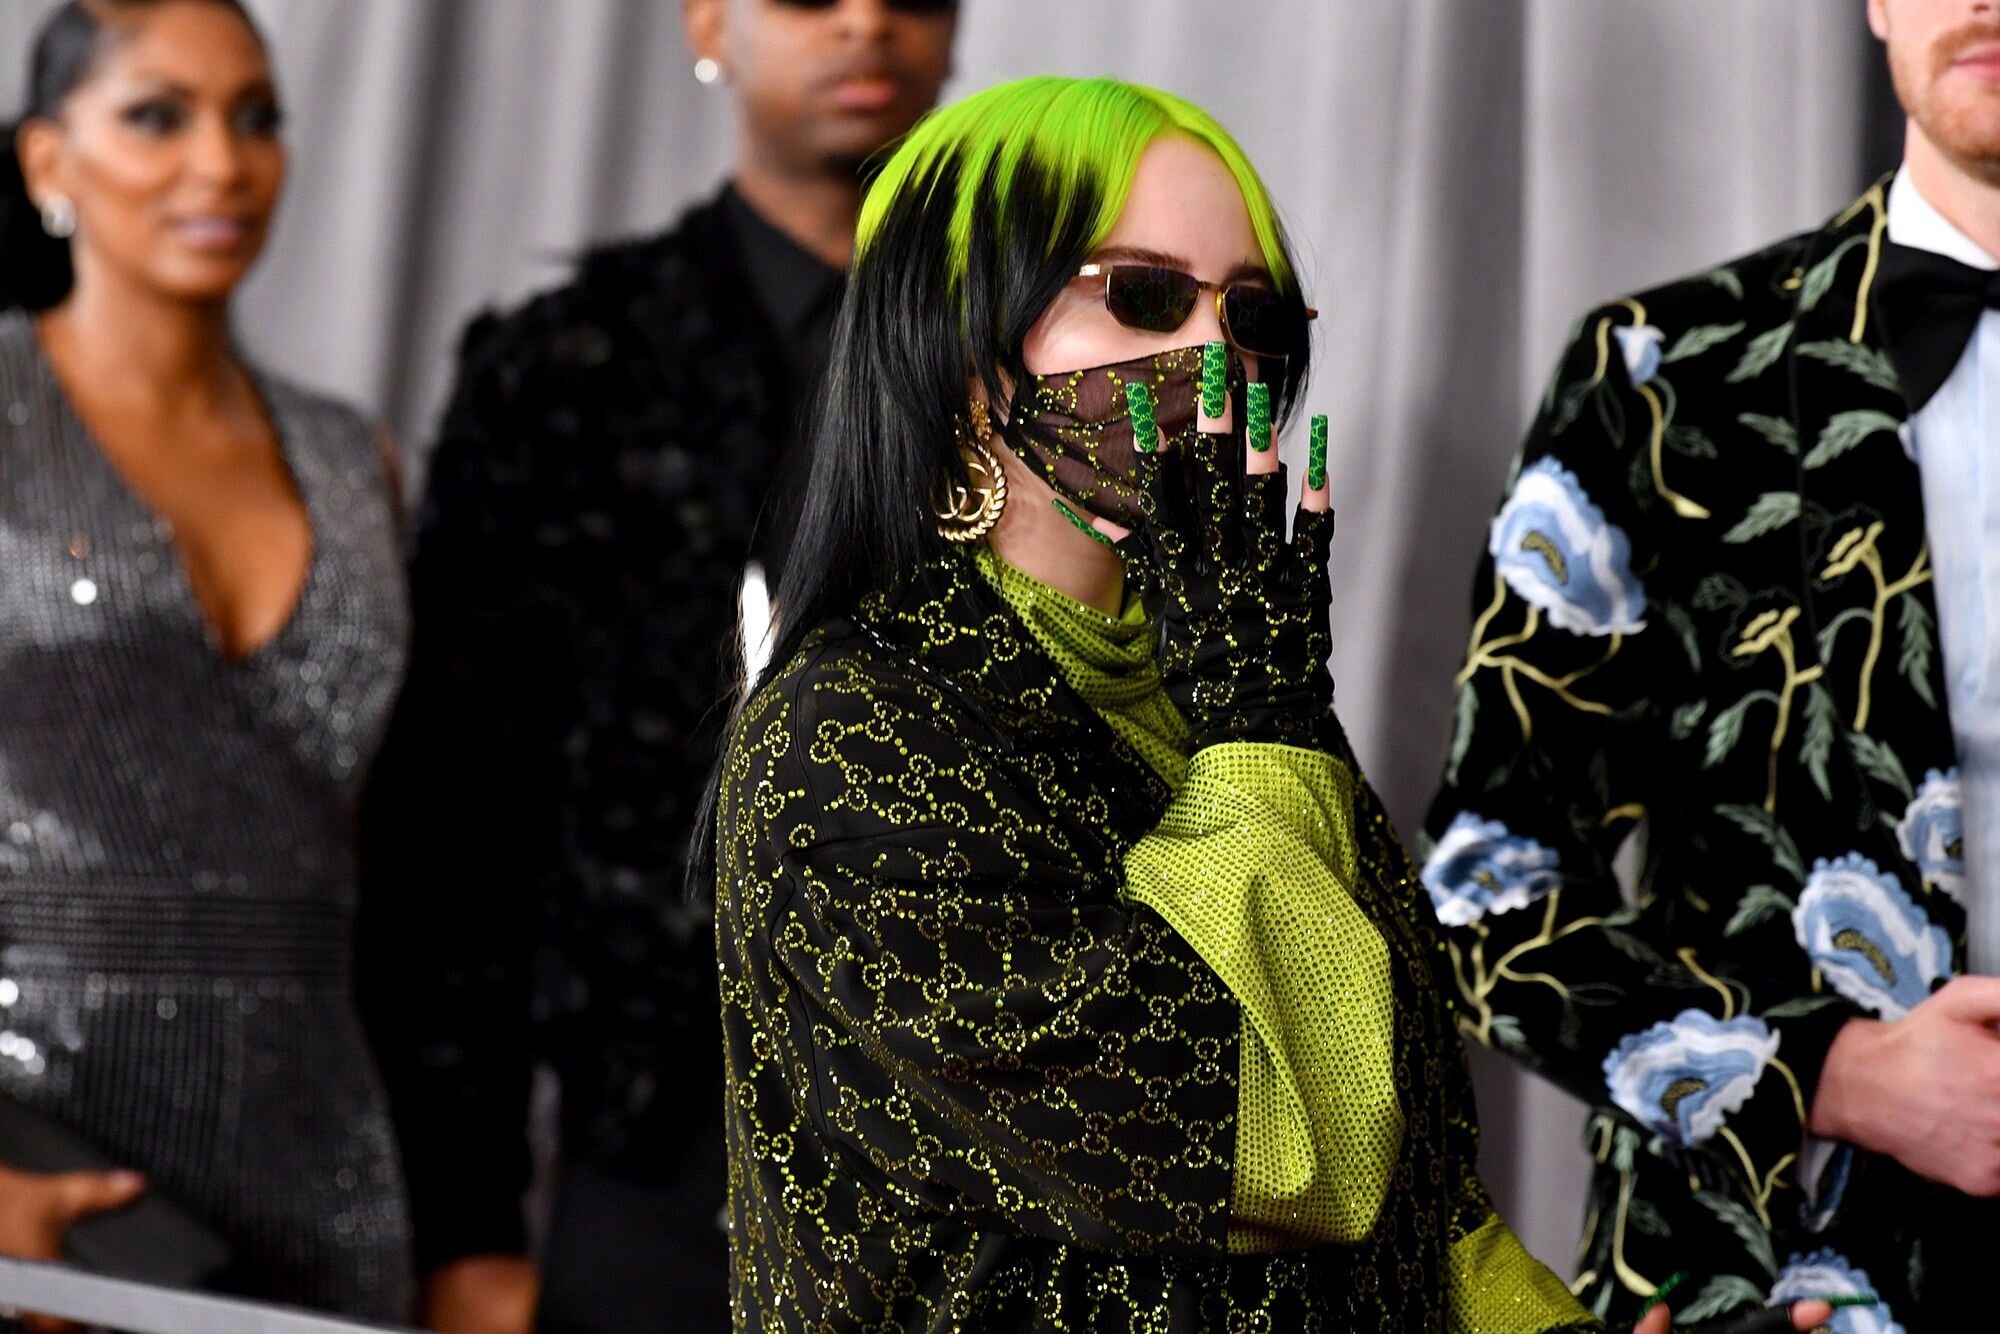
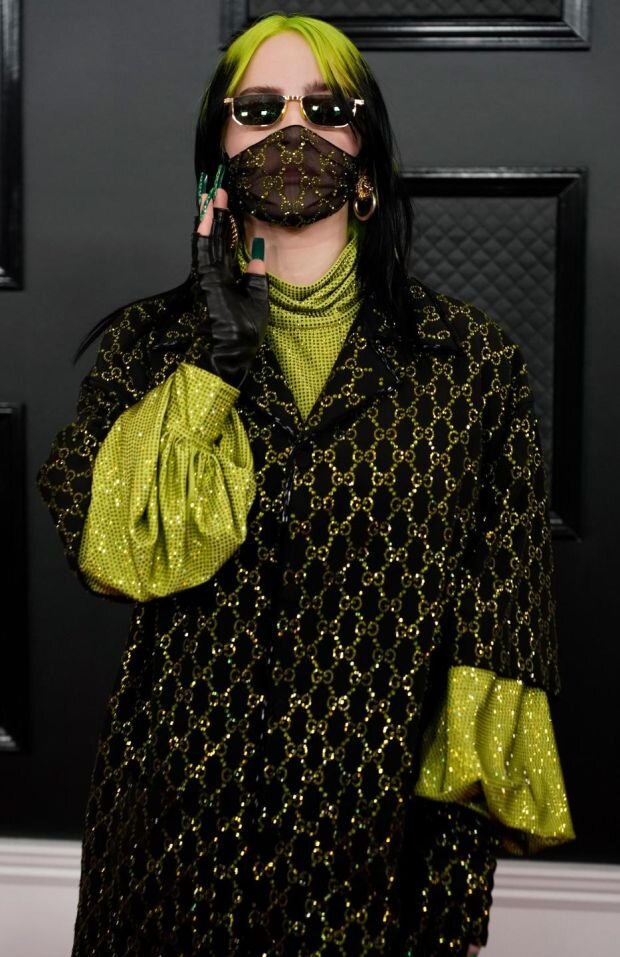
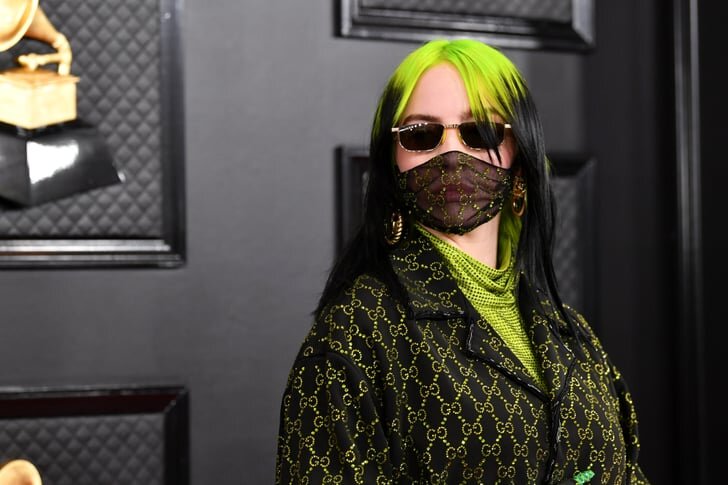
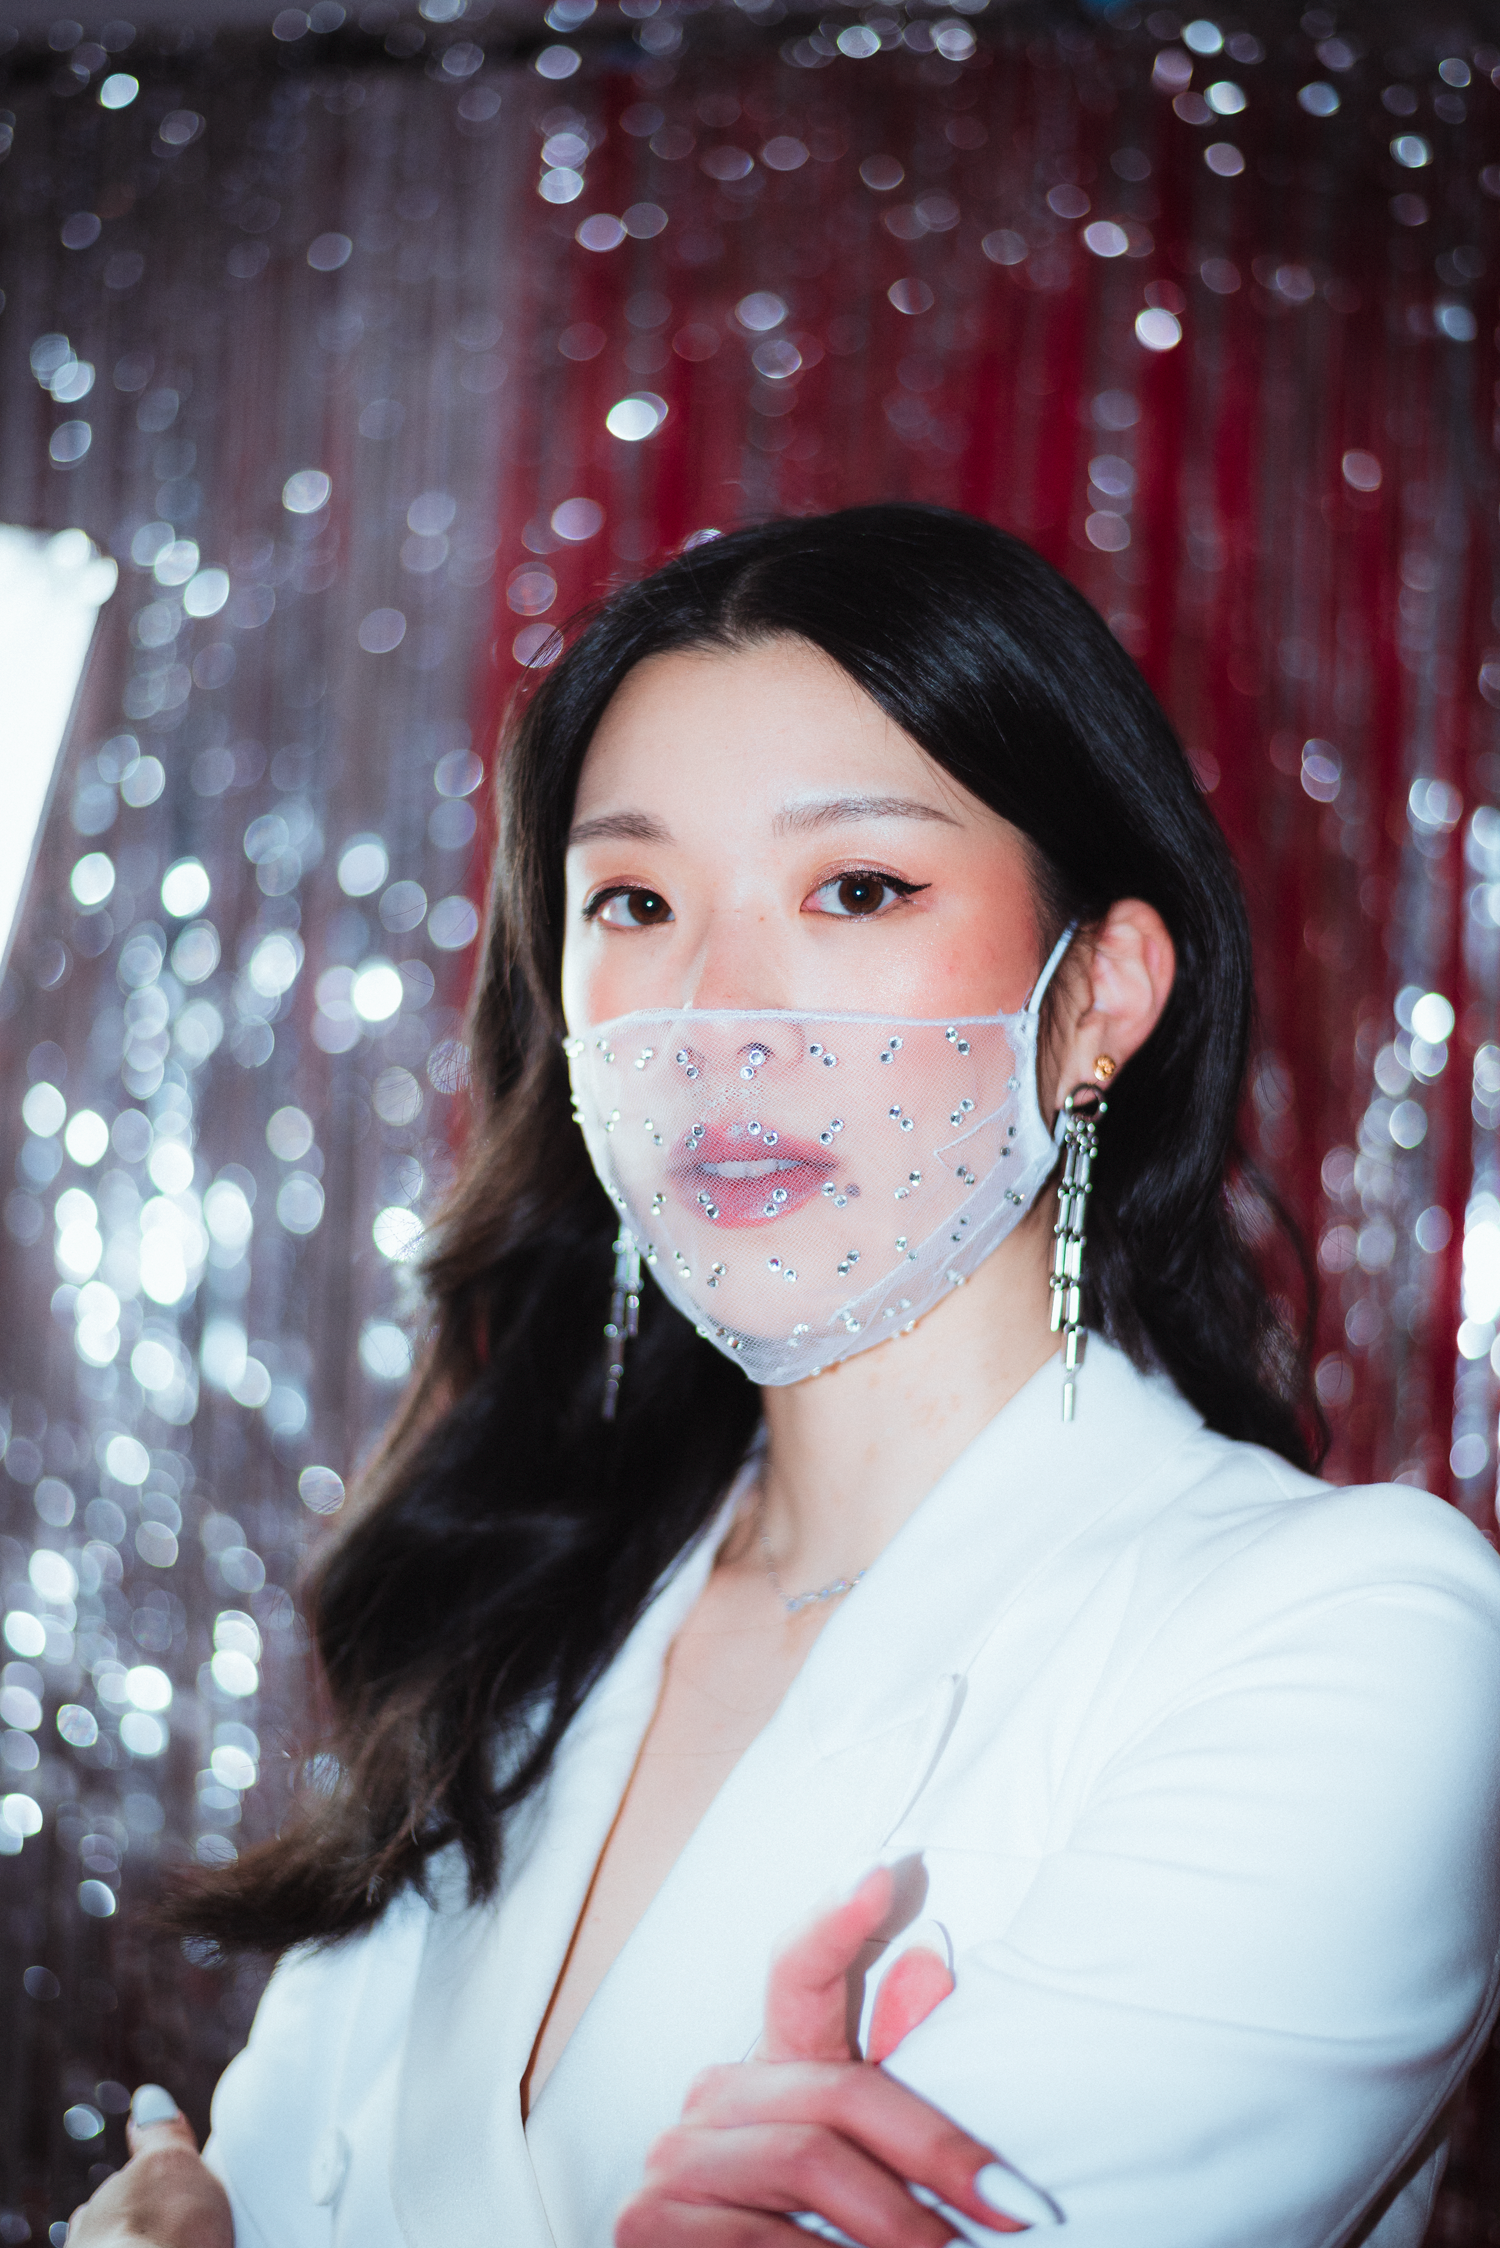
Look 2: Billie Eilish’s Gucci Mask

Hot Fix Tool Starter Kit
I’ll show you how to draft your own face mask, inspired by Billie Eilish’s 2020 Grammys look!
Below are my steps. If you do try this please use #madewithwendy so I can see it!
Materials
To make your sample mask:
Paper and pencil
Pins
Mirror
Cheap woven fabric
Matching thread

Looking at Billie Eilish’s mask, it looks like there are about 3 darts sewn at her cheek, there is a curve from her nose to the side of her face, and the mask goes underneath her chin.
Instructions
1. Cut out a rectangle piece of fabric about 18cm x 28cm (enough to cover your nose and under your chin, and from ear to ear.)
2. Mark a line down the centre of the fabric, so you always know where the centreline is when you’re draping.
3. While looking in the mirror, place the woven fabric on your face and pinch the middle of sides with the fold pointing down (towards your chin). Pin the dart along the fold lines to keep it in place.
4. Continue to pinch and fold the smaller darts above and below the first dart to fit your face shape better. Pin the dart along the fold lines.
5. At the top of the mask draw a curve from the bridge of the nose, sloping down to fit the contour of your face. (Cutaway unnecessary fabric to check if you like the curve)
5. When you’re happy with the form, mark the apexes and ends of all darts before removing the pins
6. Mirror the dart marks on the other side of the mask and sew all the darts (use a basting stitch, as it will be removed later)

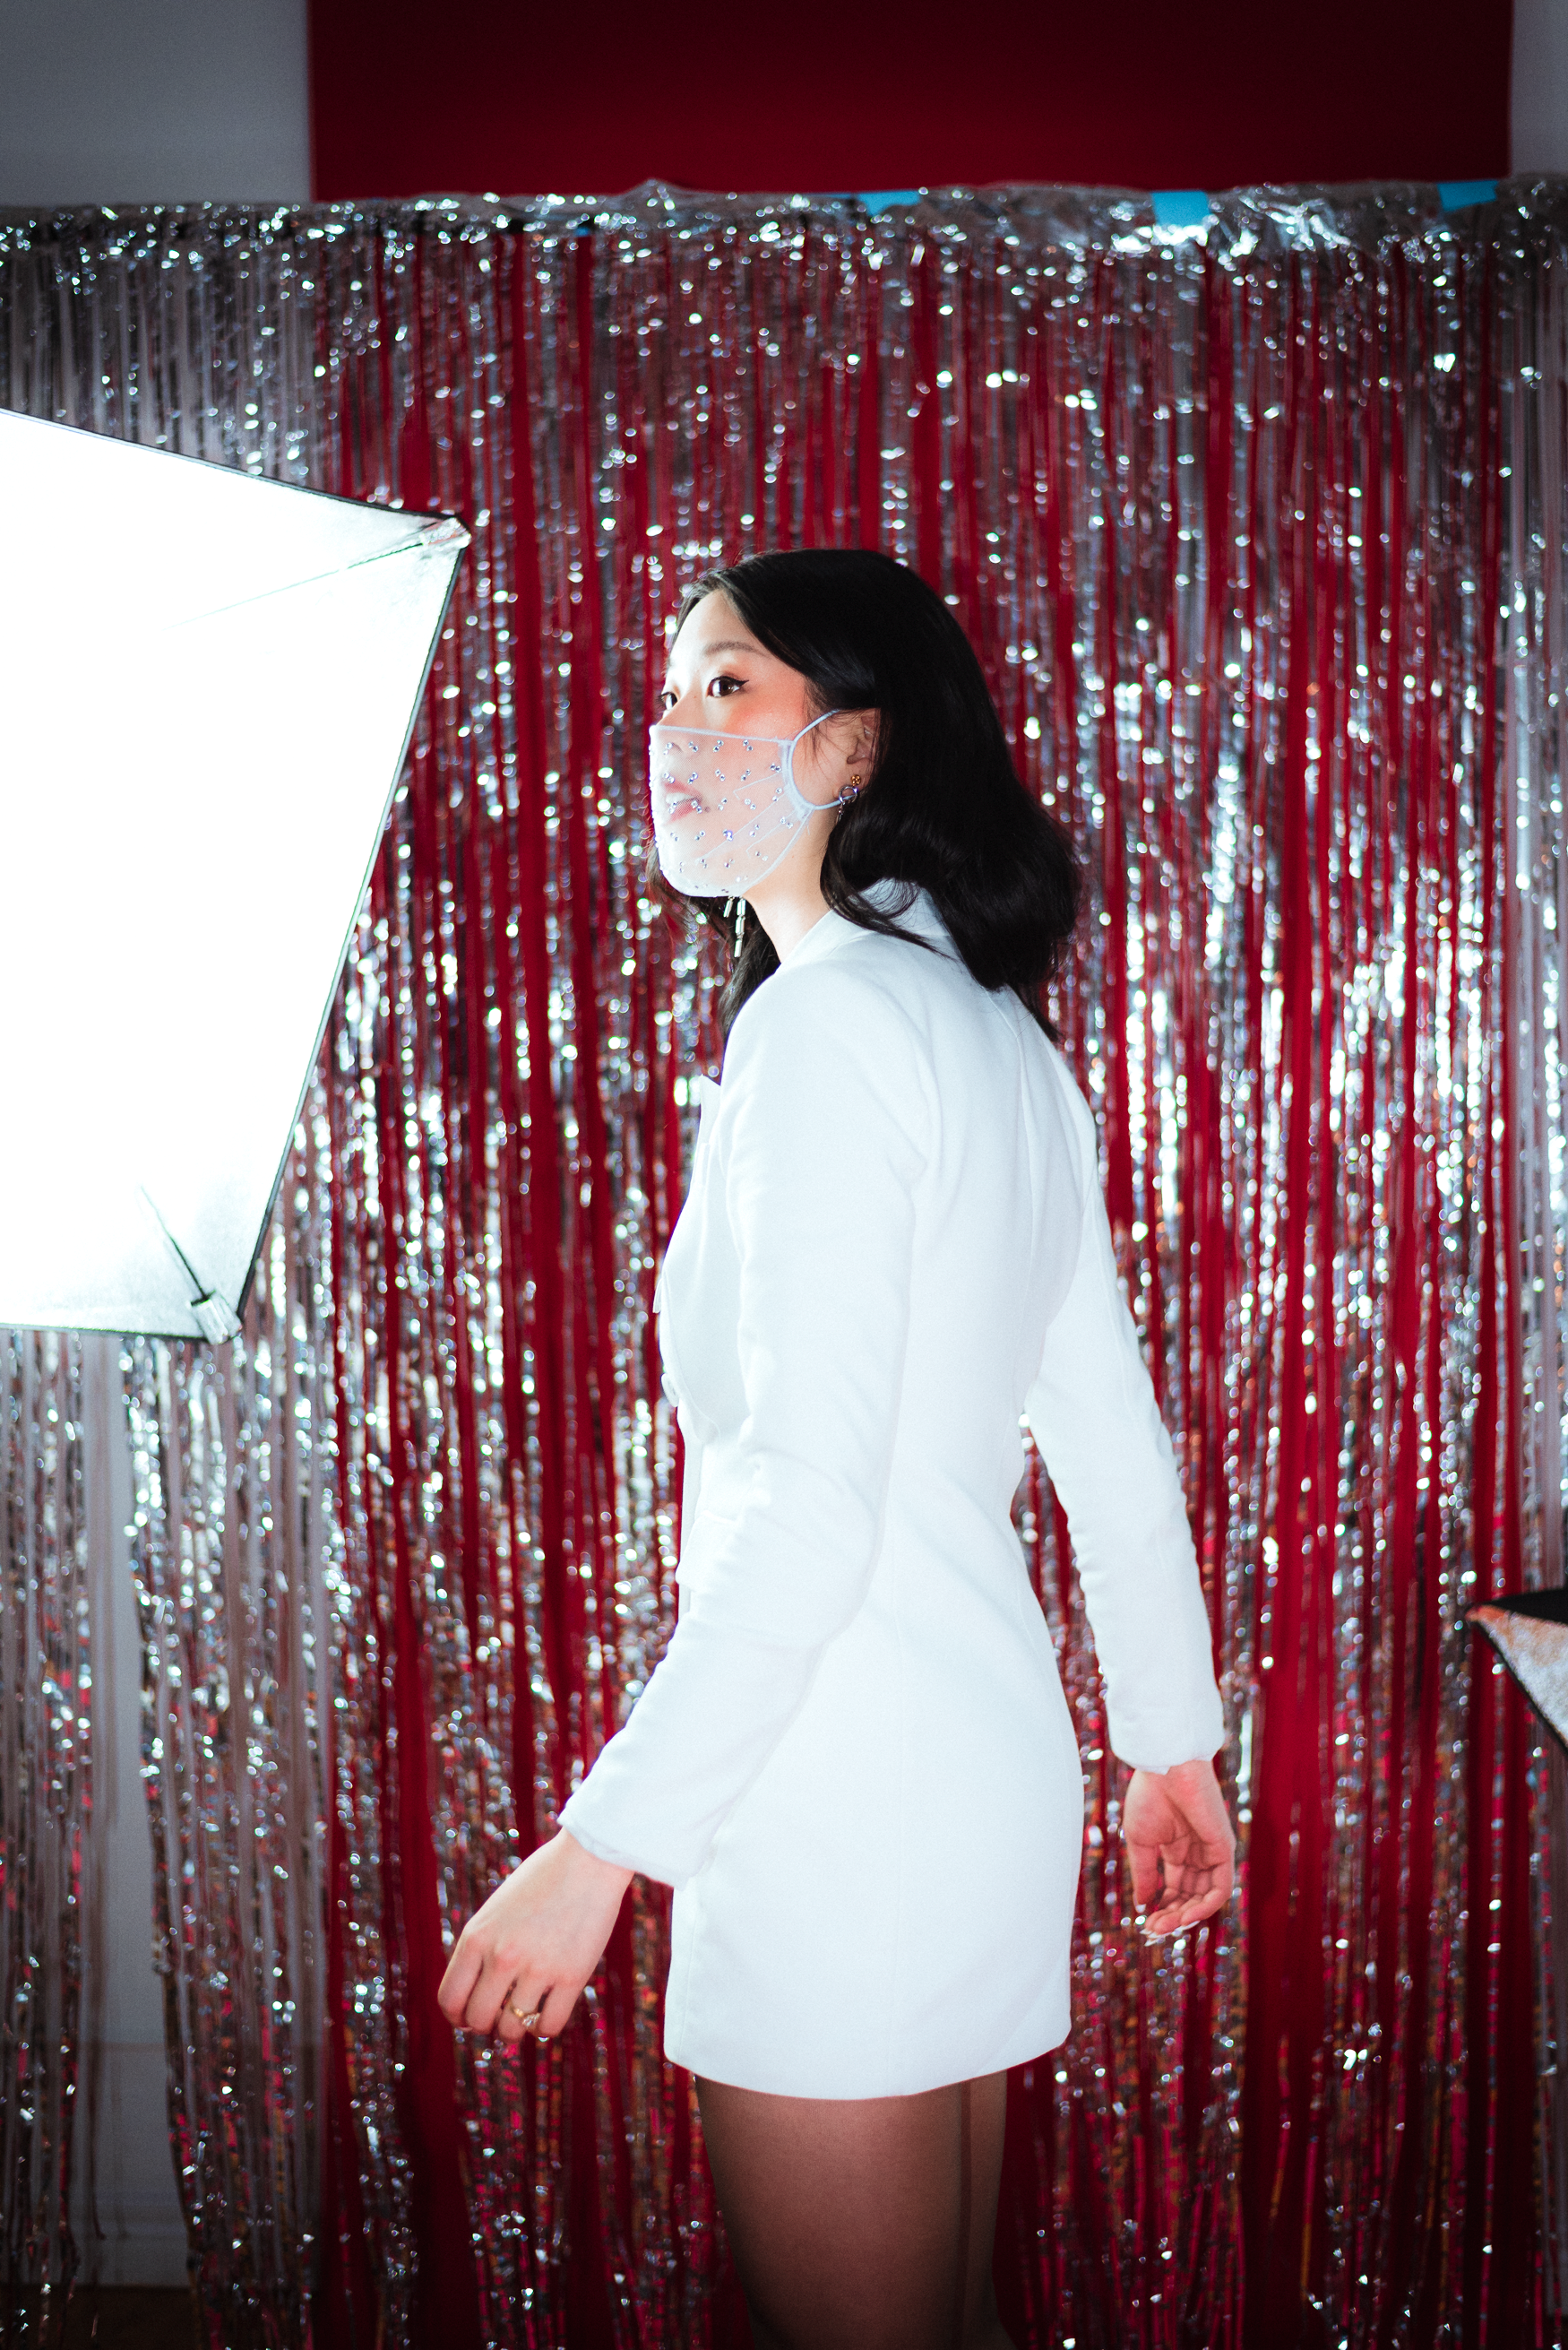
This is how my draft mask looked once it was fitted.
7. Check the fit of the mask. I noticed that there was a lot of excess fabric underneath the chin, so I added a dart pointed towards the end of the chin. I also cut away excess fabric at the side of the masks to make a straight line.
8. Once you’re finished with the final fit, unpick the stitches and trace the pattern onto paper. Remember to add seam allowance (1/4” | 0.5cm) for a rolled hem.

Here’s my finished mask pattern, with three side darts, one bottom dart, and a curve along the top for the nose. The sides have jagged angles but aligns to a straight edge after the darts are sewn.
9. 1/2” (1.3cm) should be dedicated as a channel for the elastic on either side of the mask.
10. Cut and sew your mask in your final fabric. Add rhinestones for the finishing touch!

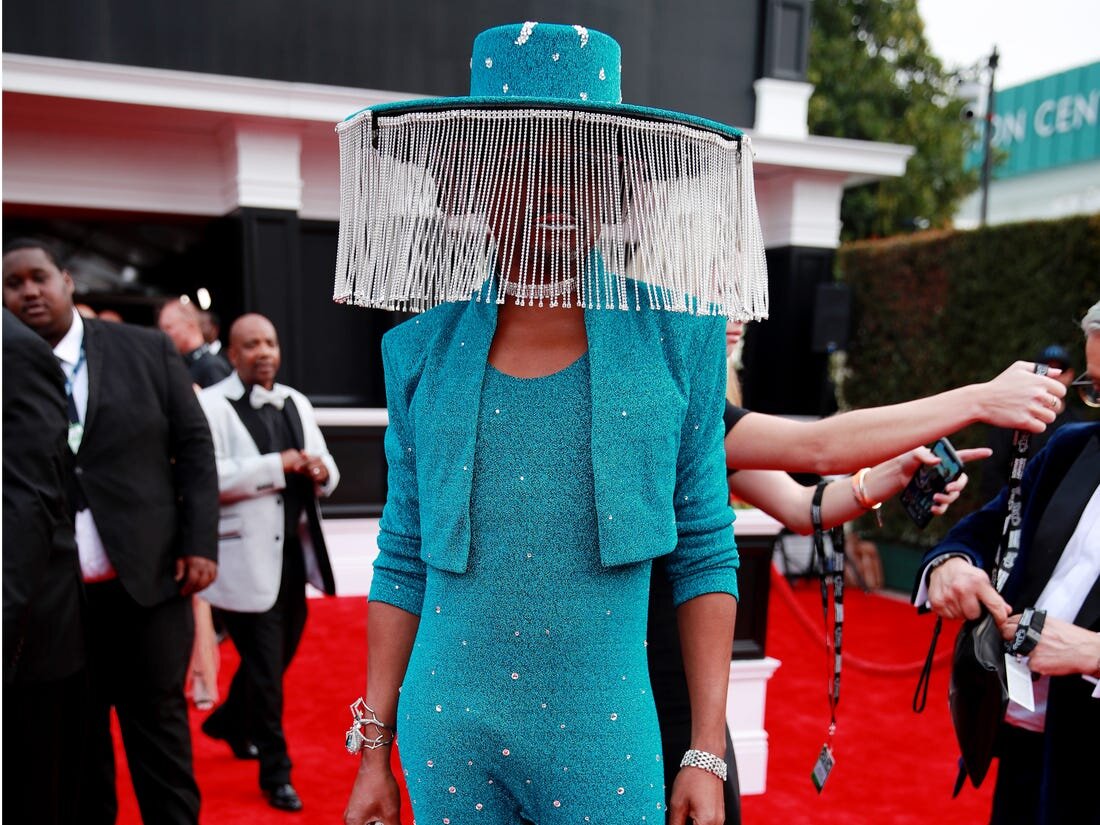
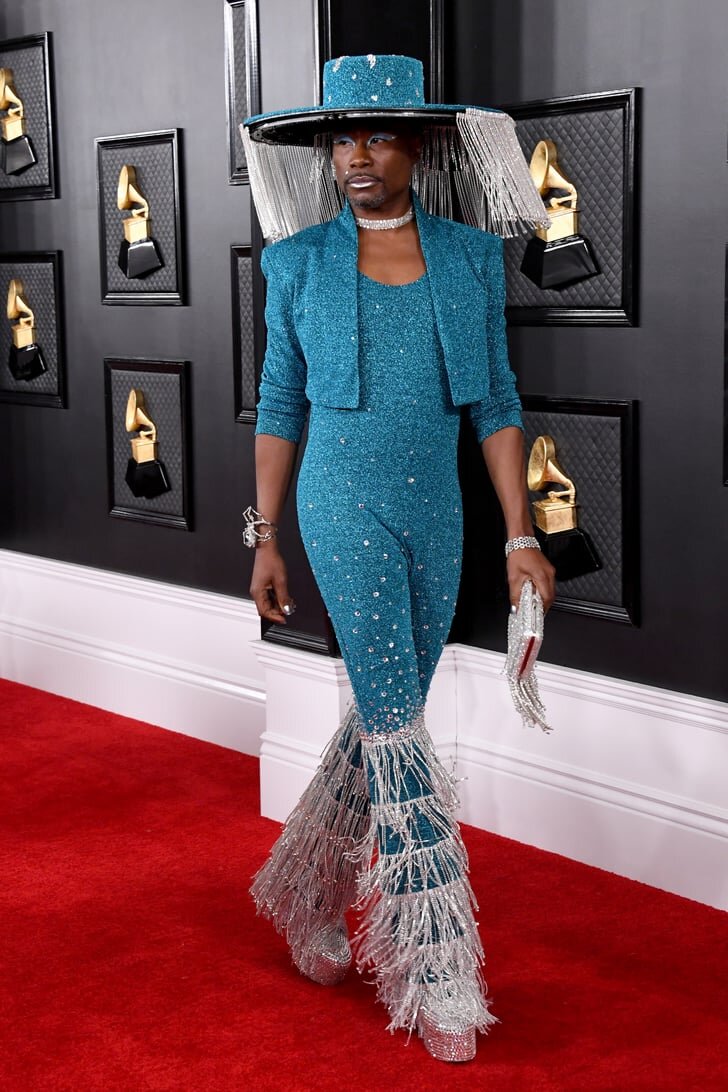
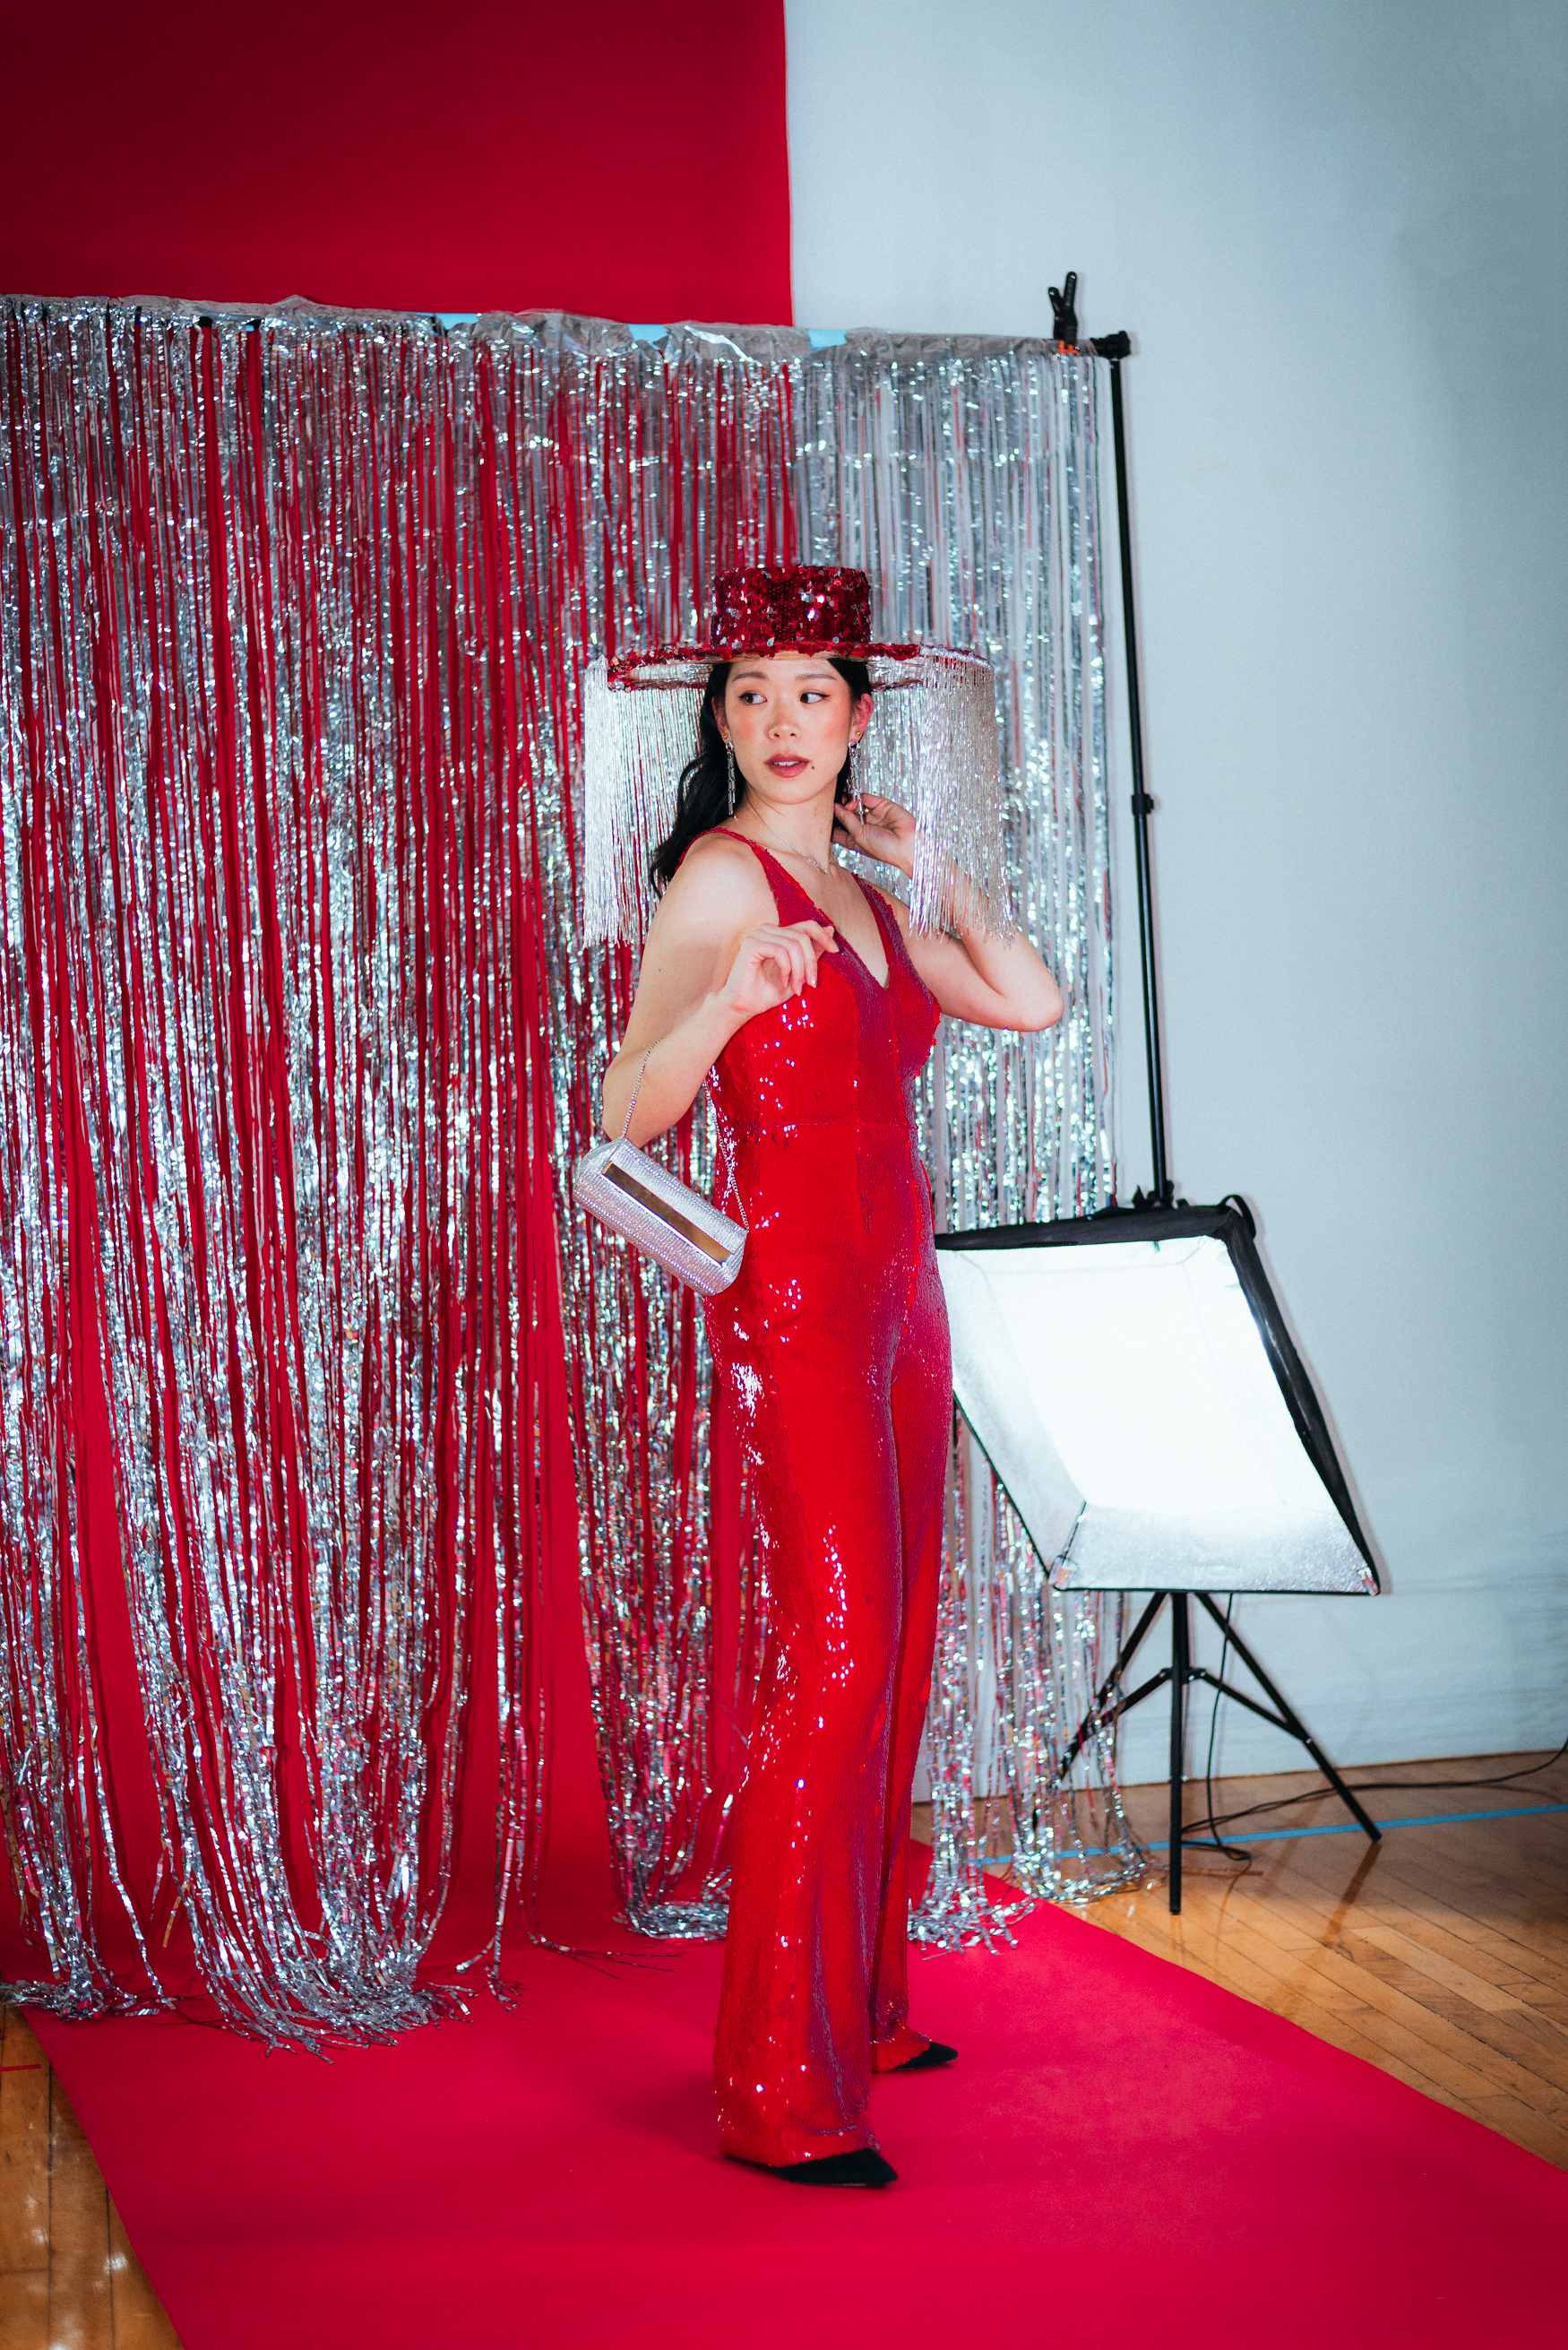
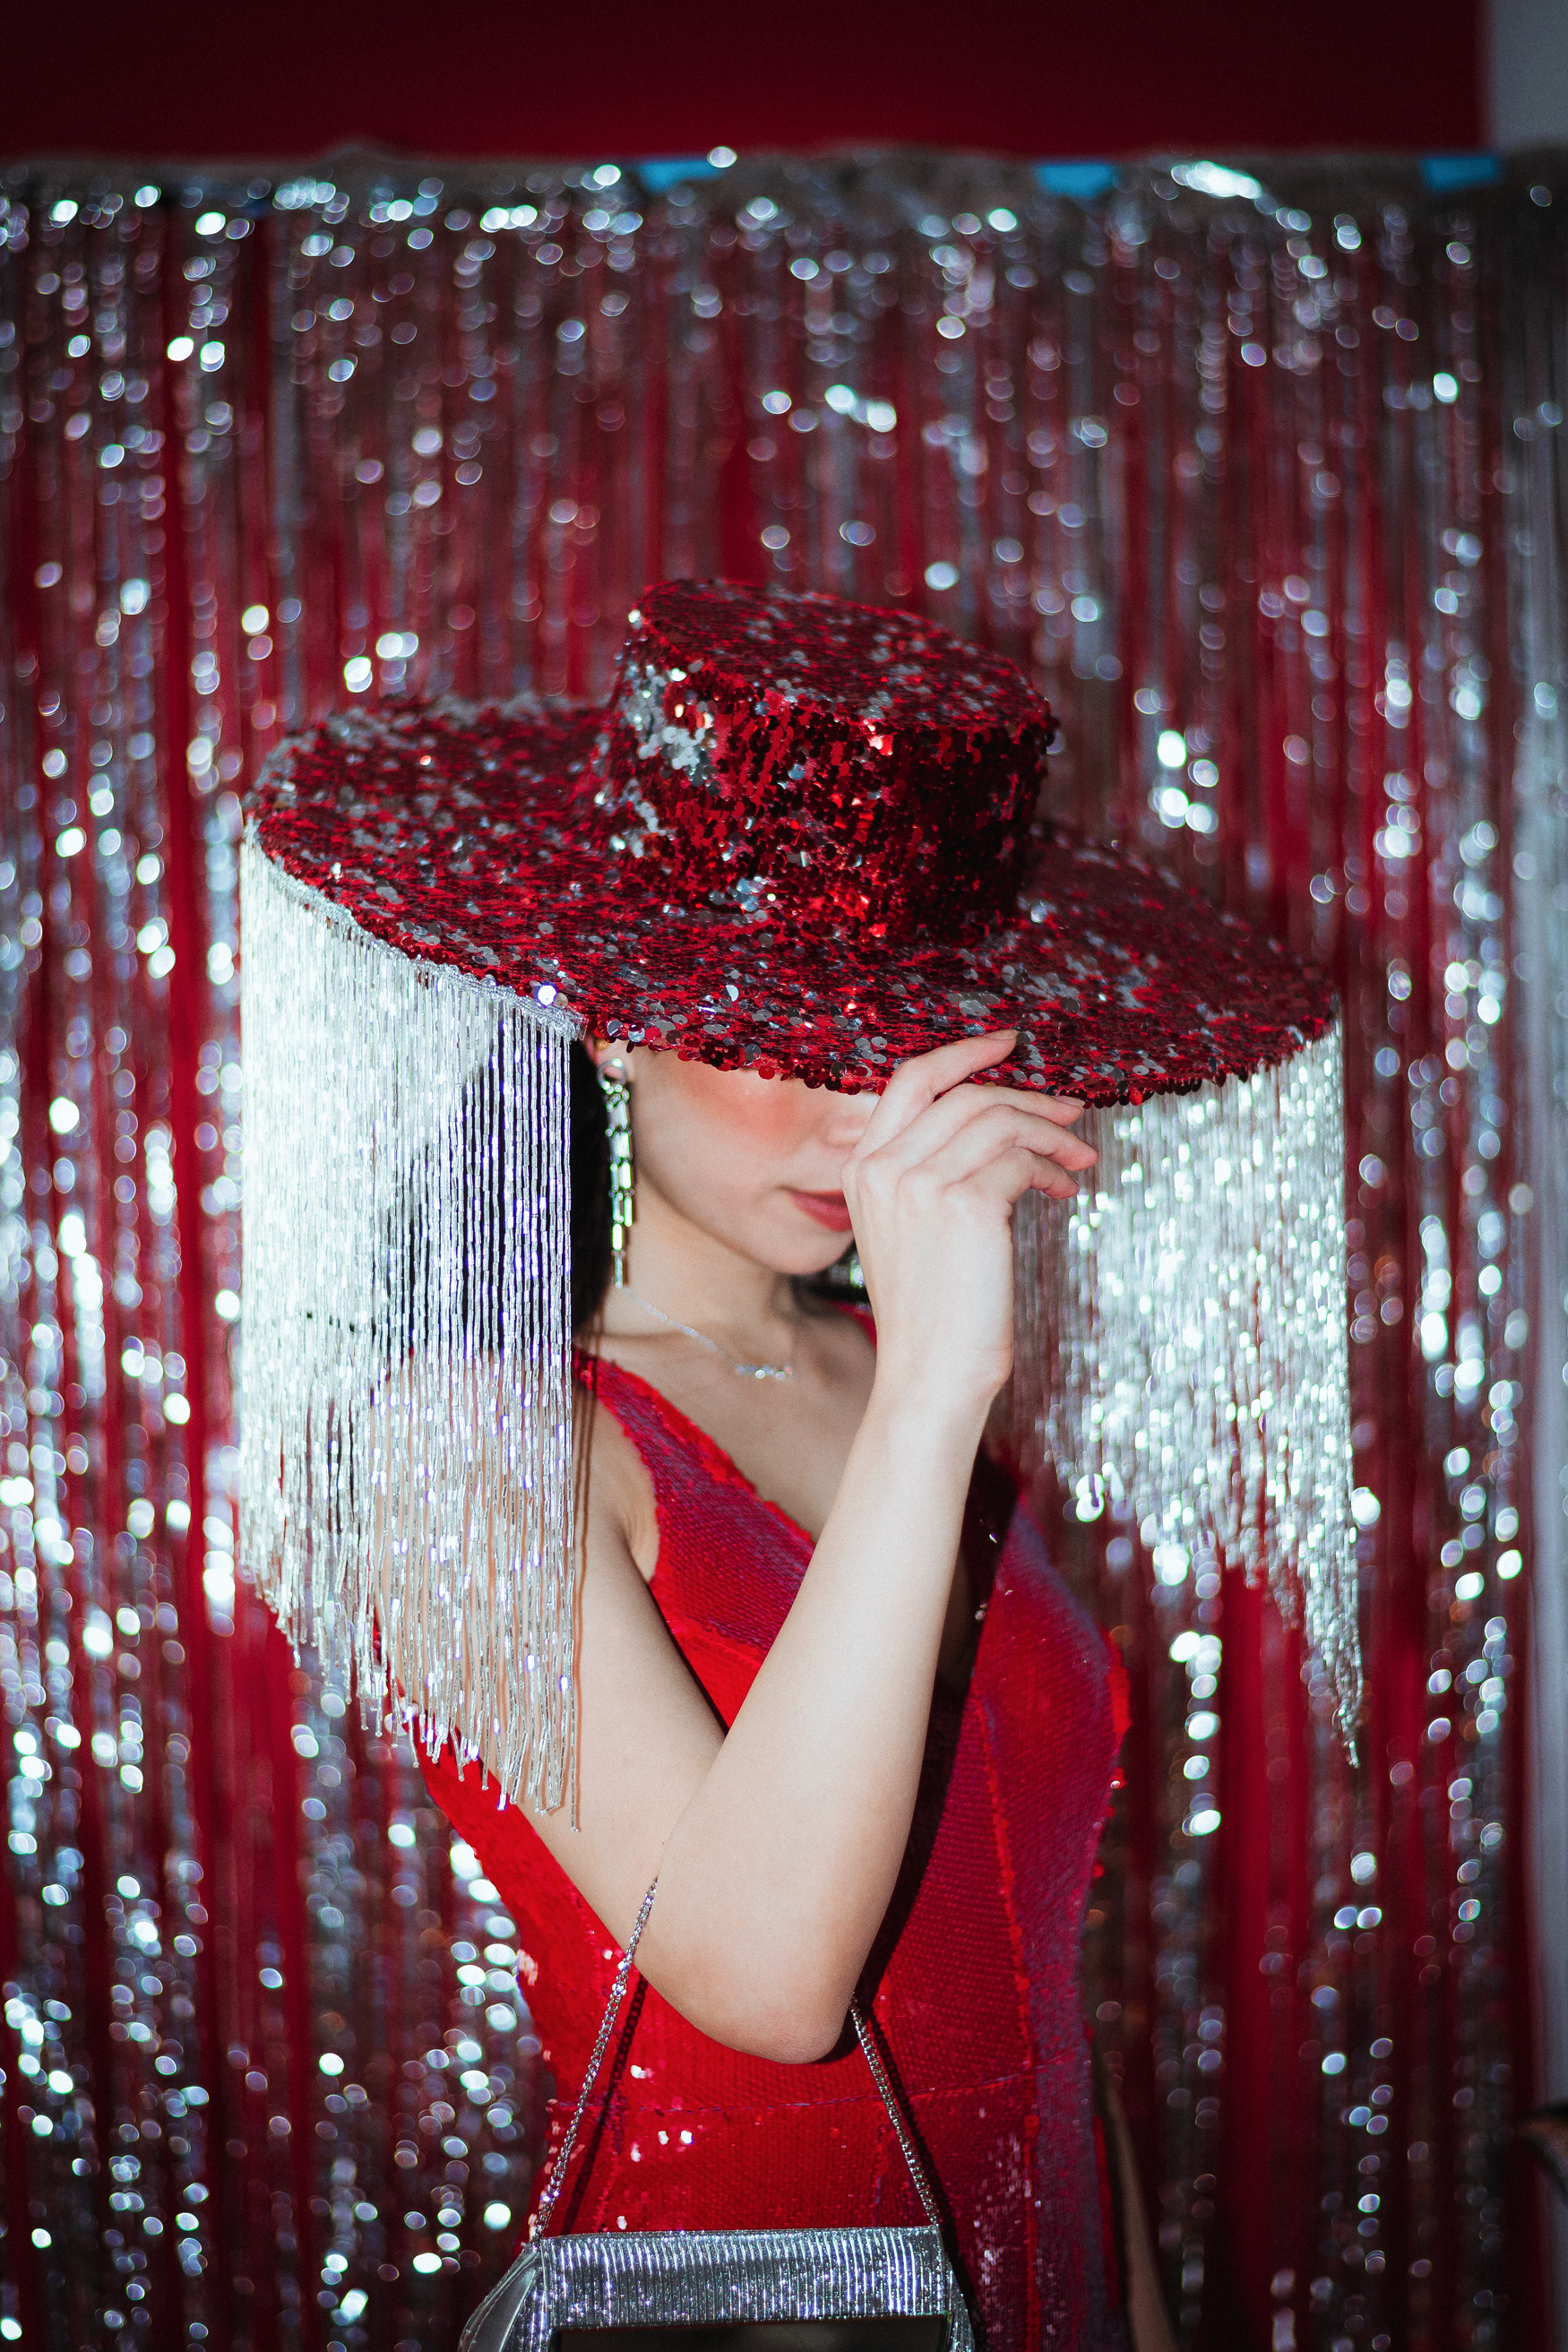
Look 3: Billy Porter’s Shade Hat

Dimensions
Here are the sizes I cut out:
Hat top: 16 cm x 18 cm oval
Hat height: 14 cm x 60 cm, will become a 10 cm tall hat
Brim size: 46 cm x 47 cm oval
Hatband: 58 cm x 2 cm
Assembly
I’m putting these instructions here but I sincerely hope no one has to use them, cardboard hats aren’t the most comfortable thing I’ve made.
Cut the hat top out of cardboard
Cut a 14 cm wide strip of cardboard that can wrap completely around the hat top
Fold the 14 cm strip into 2-3 cm sections to help it mould easier into an oval
Cut into the strip at each of the folds 2 cm in from the top and 2 cm in from the bottom (10 cm should therefore be uncut)
Fold the top tabs in and tape them to the hat top to form a bowl
Measure the circumference of your forehead, mine was about 58 cm so I cut a hatband to that size and taped it into a circle
Cut 9 cm into the 10 cm that is uncut at each of the folds
Tape the hatband to the hat wall and use it as a guide to widen the hat from the top
Fold the bottom tabs of the wall in and draw an oval on the middle of the brim
Cut out a hole in the brim
Fold the bottom tabs of the wall out and tape them to the brim
If the hat wall is a bit too geometric, smooth it out with thin foam or padding
Scroll to the bottom to see how I took it from there.

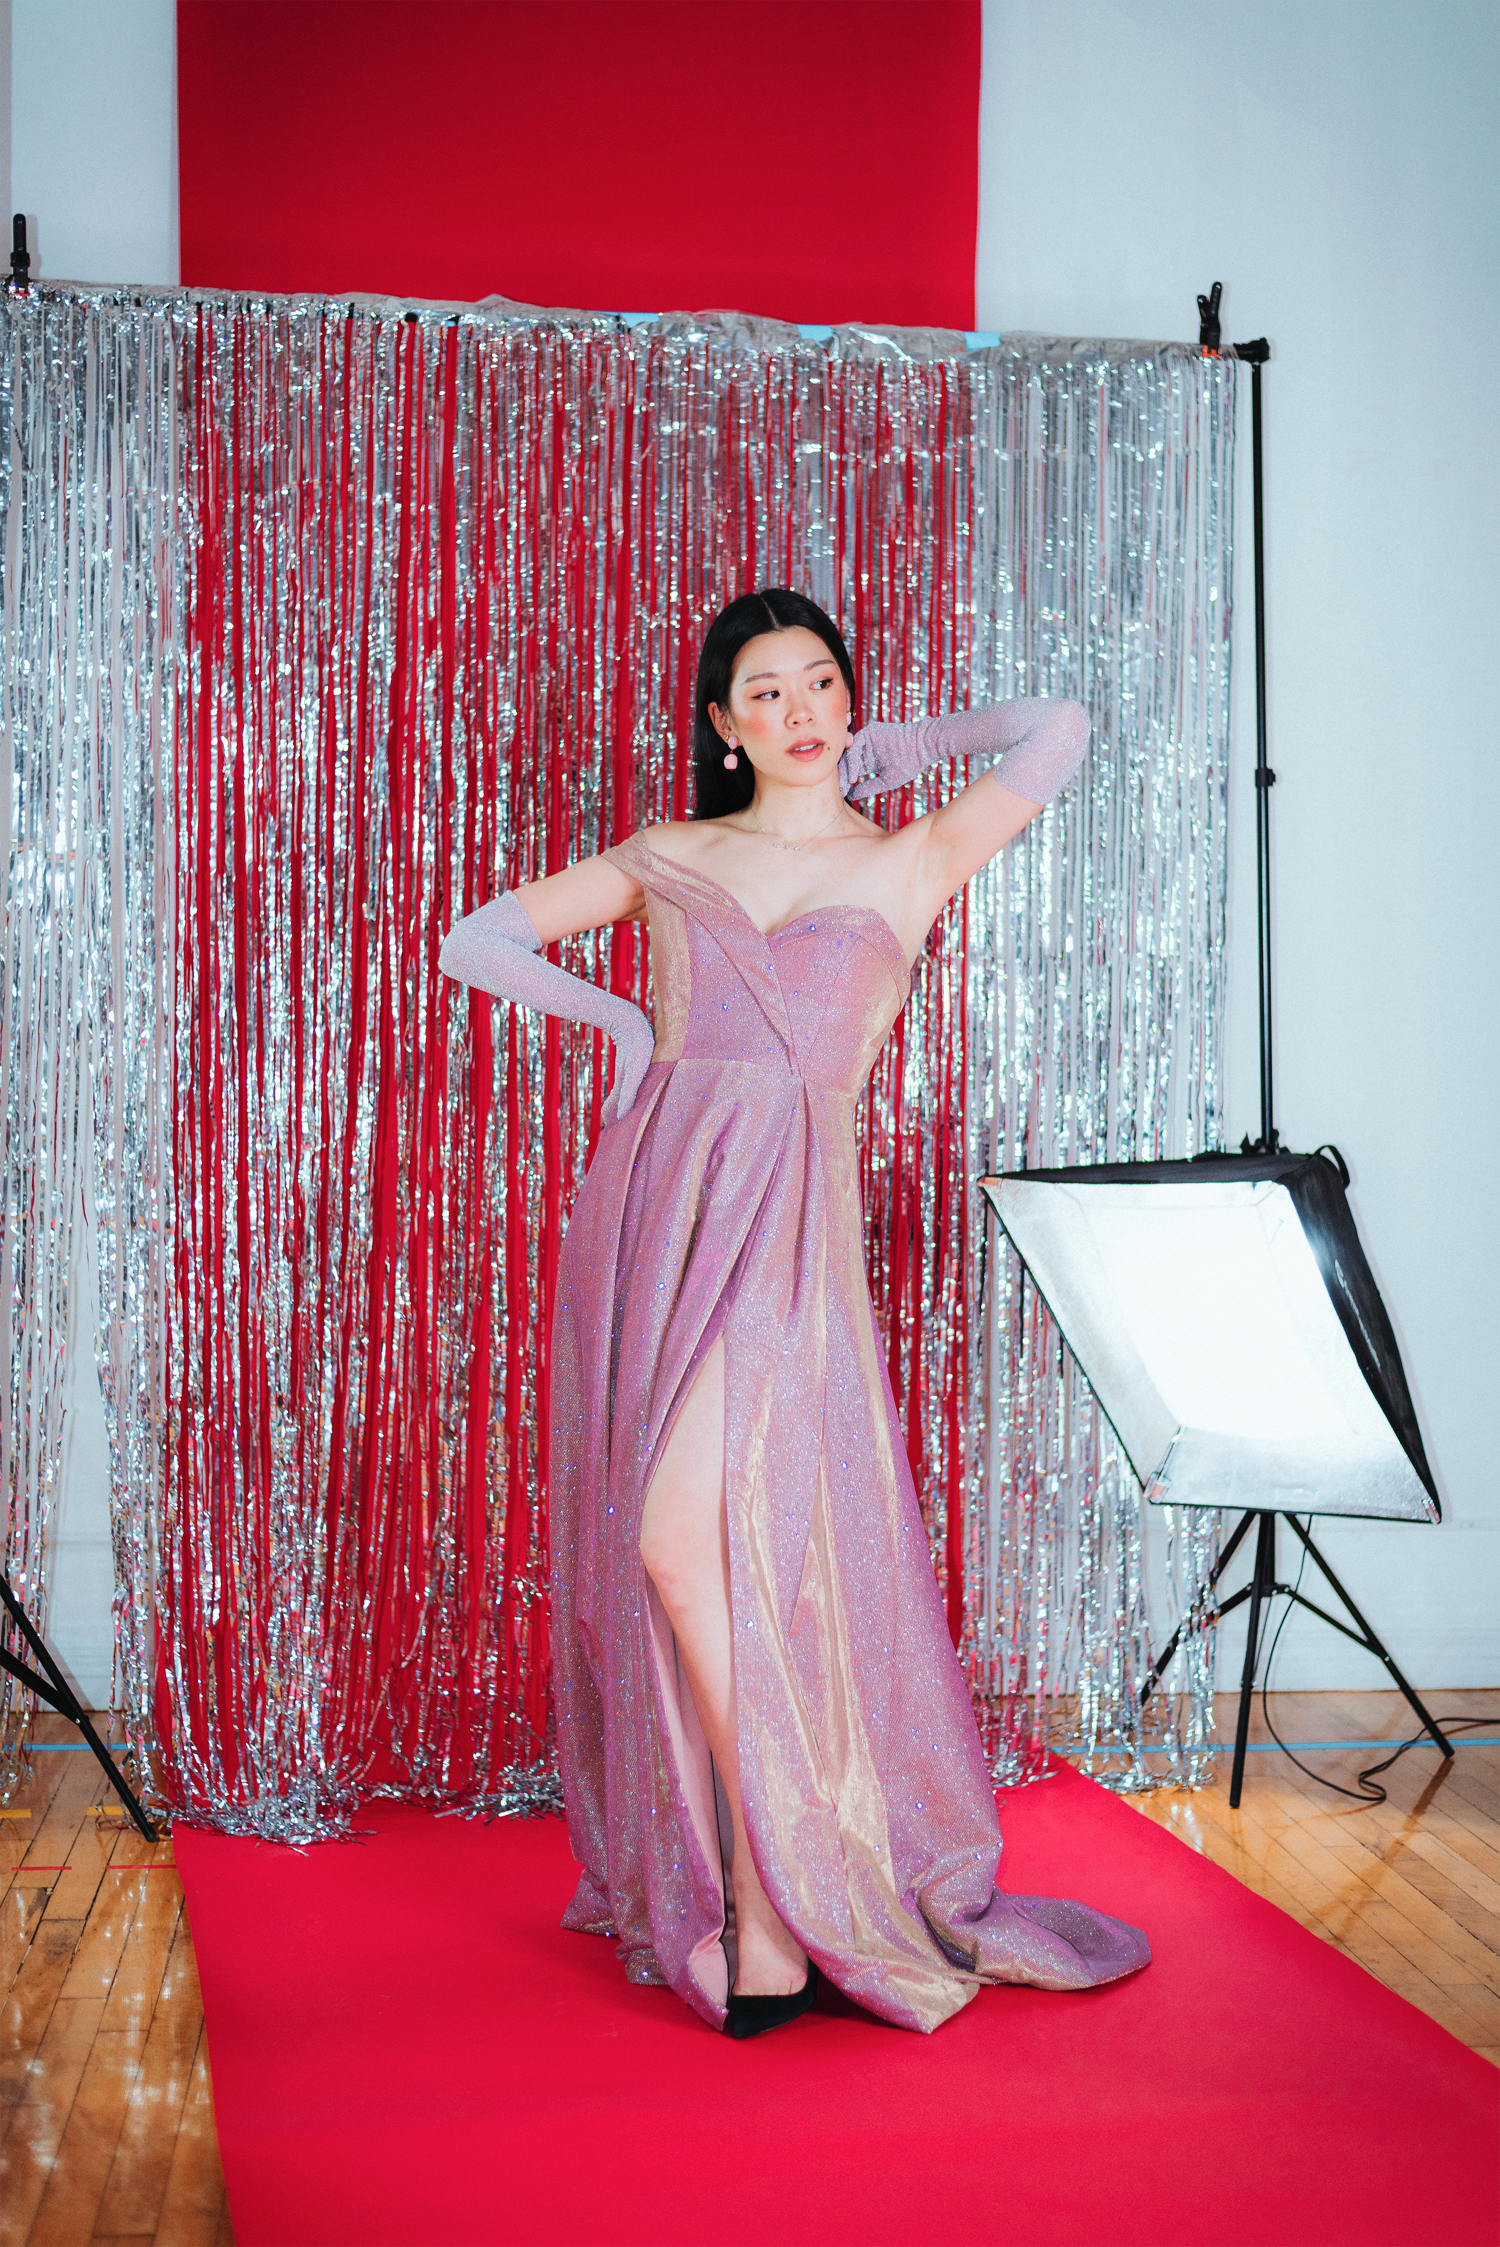
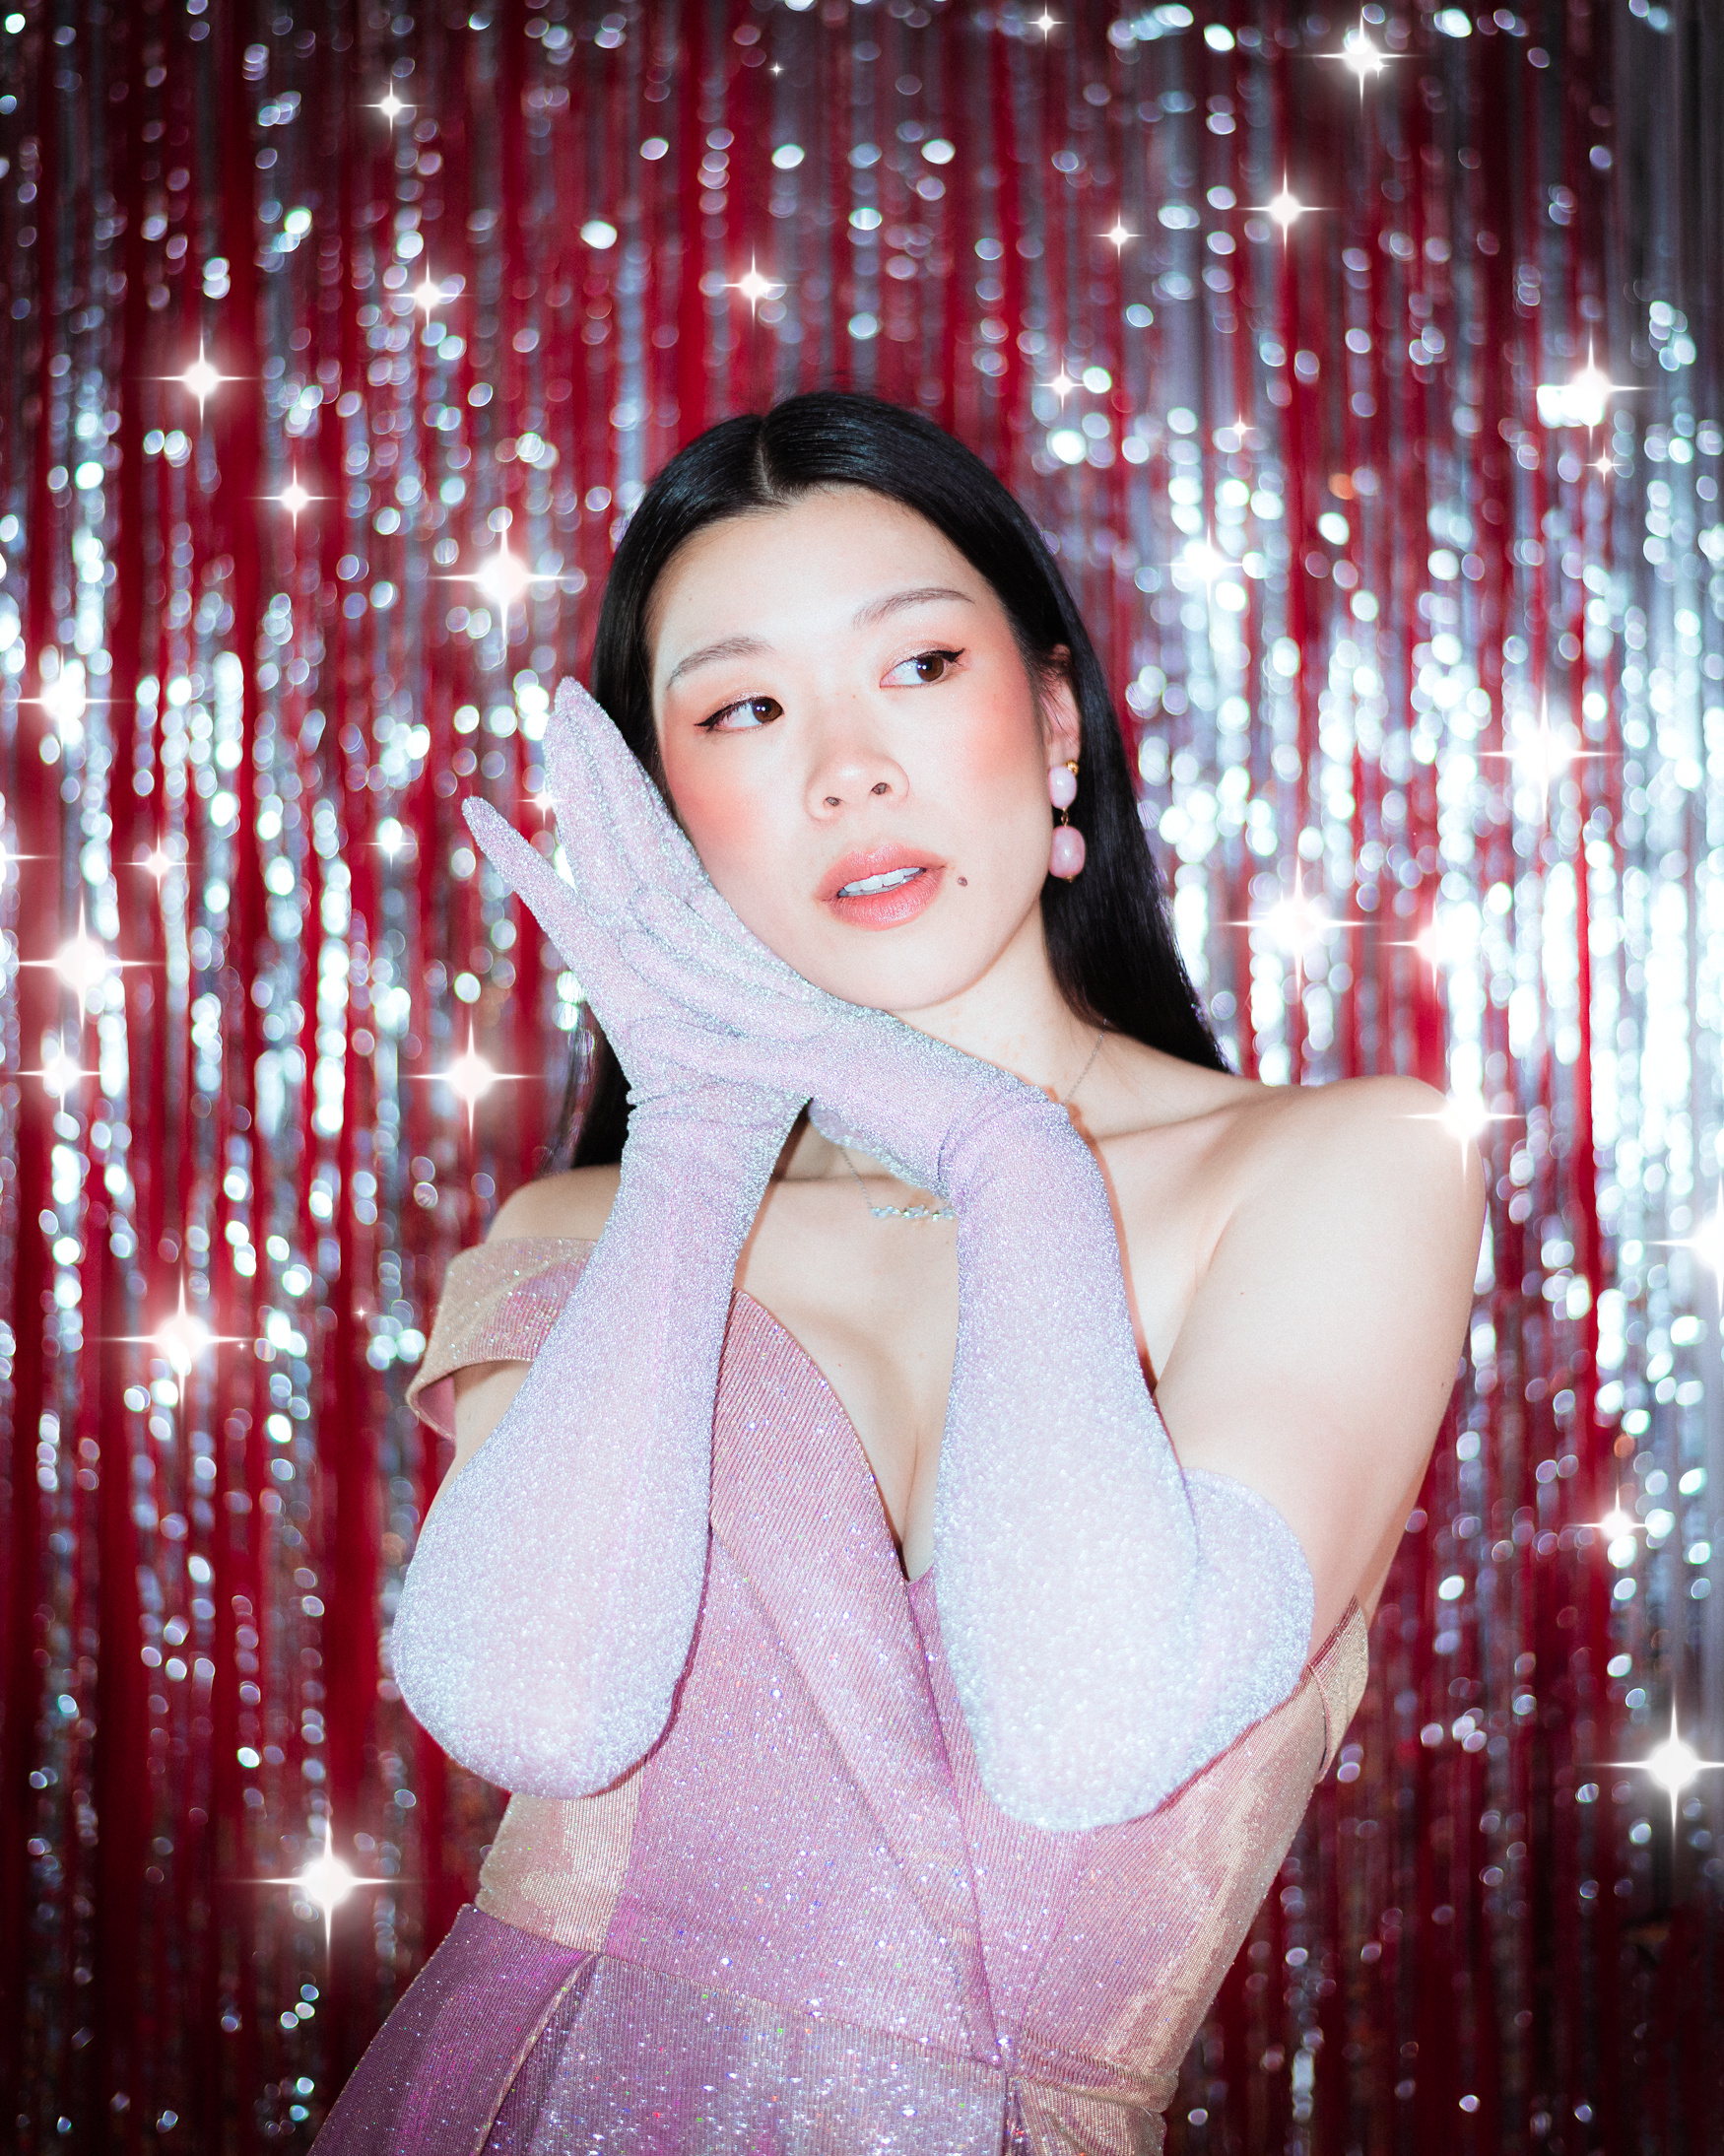
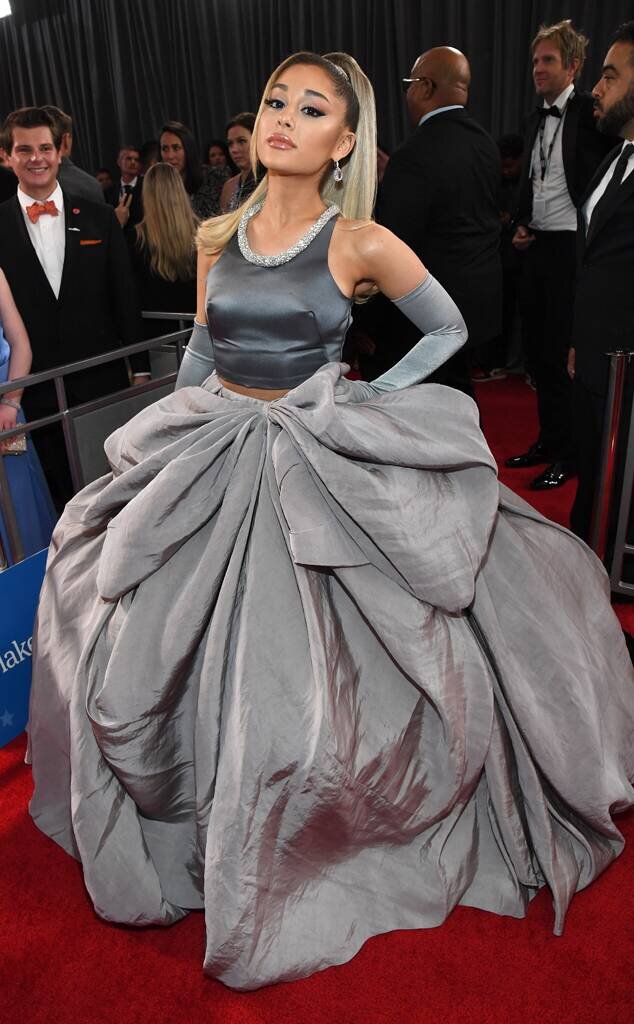
Look 4: Ariana Grande’s Grand Gloves
I’ll show you how to make your own gloves and how to make adjustments to fit your hand! I used a glove pattern from Sew-ing.com.
Below are my steps. If you do try this please use #madewithwendy so I can see it!


Find the tutorial reference from Sew-ing here.
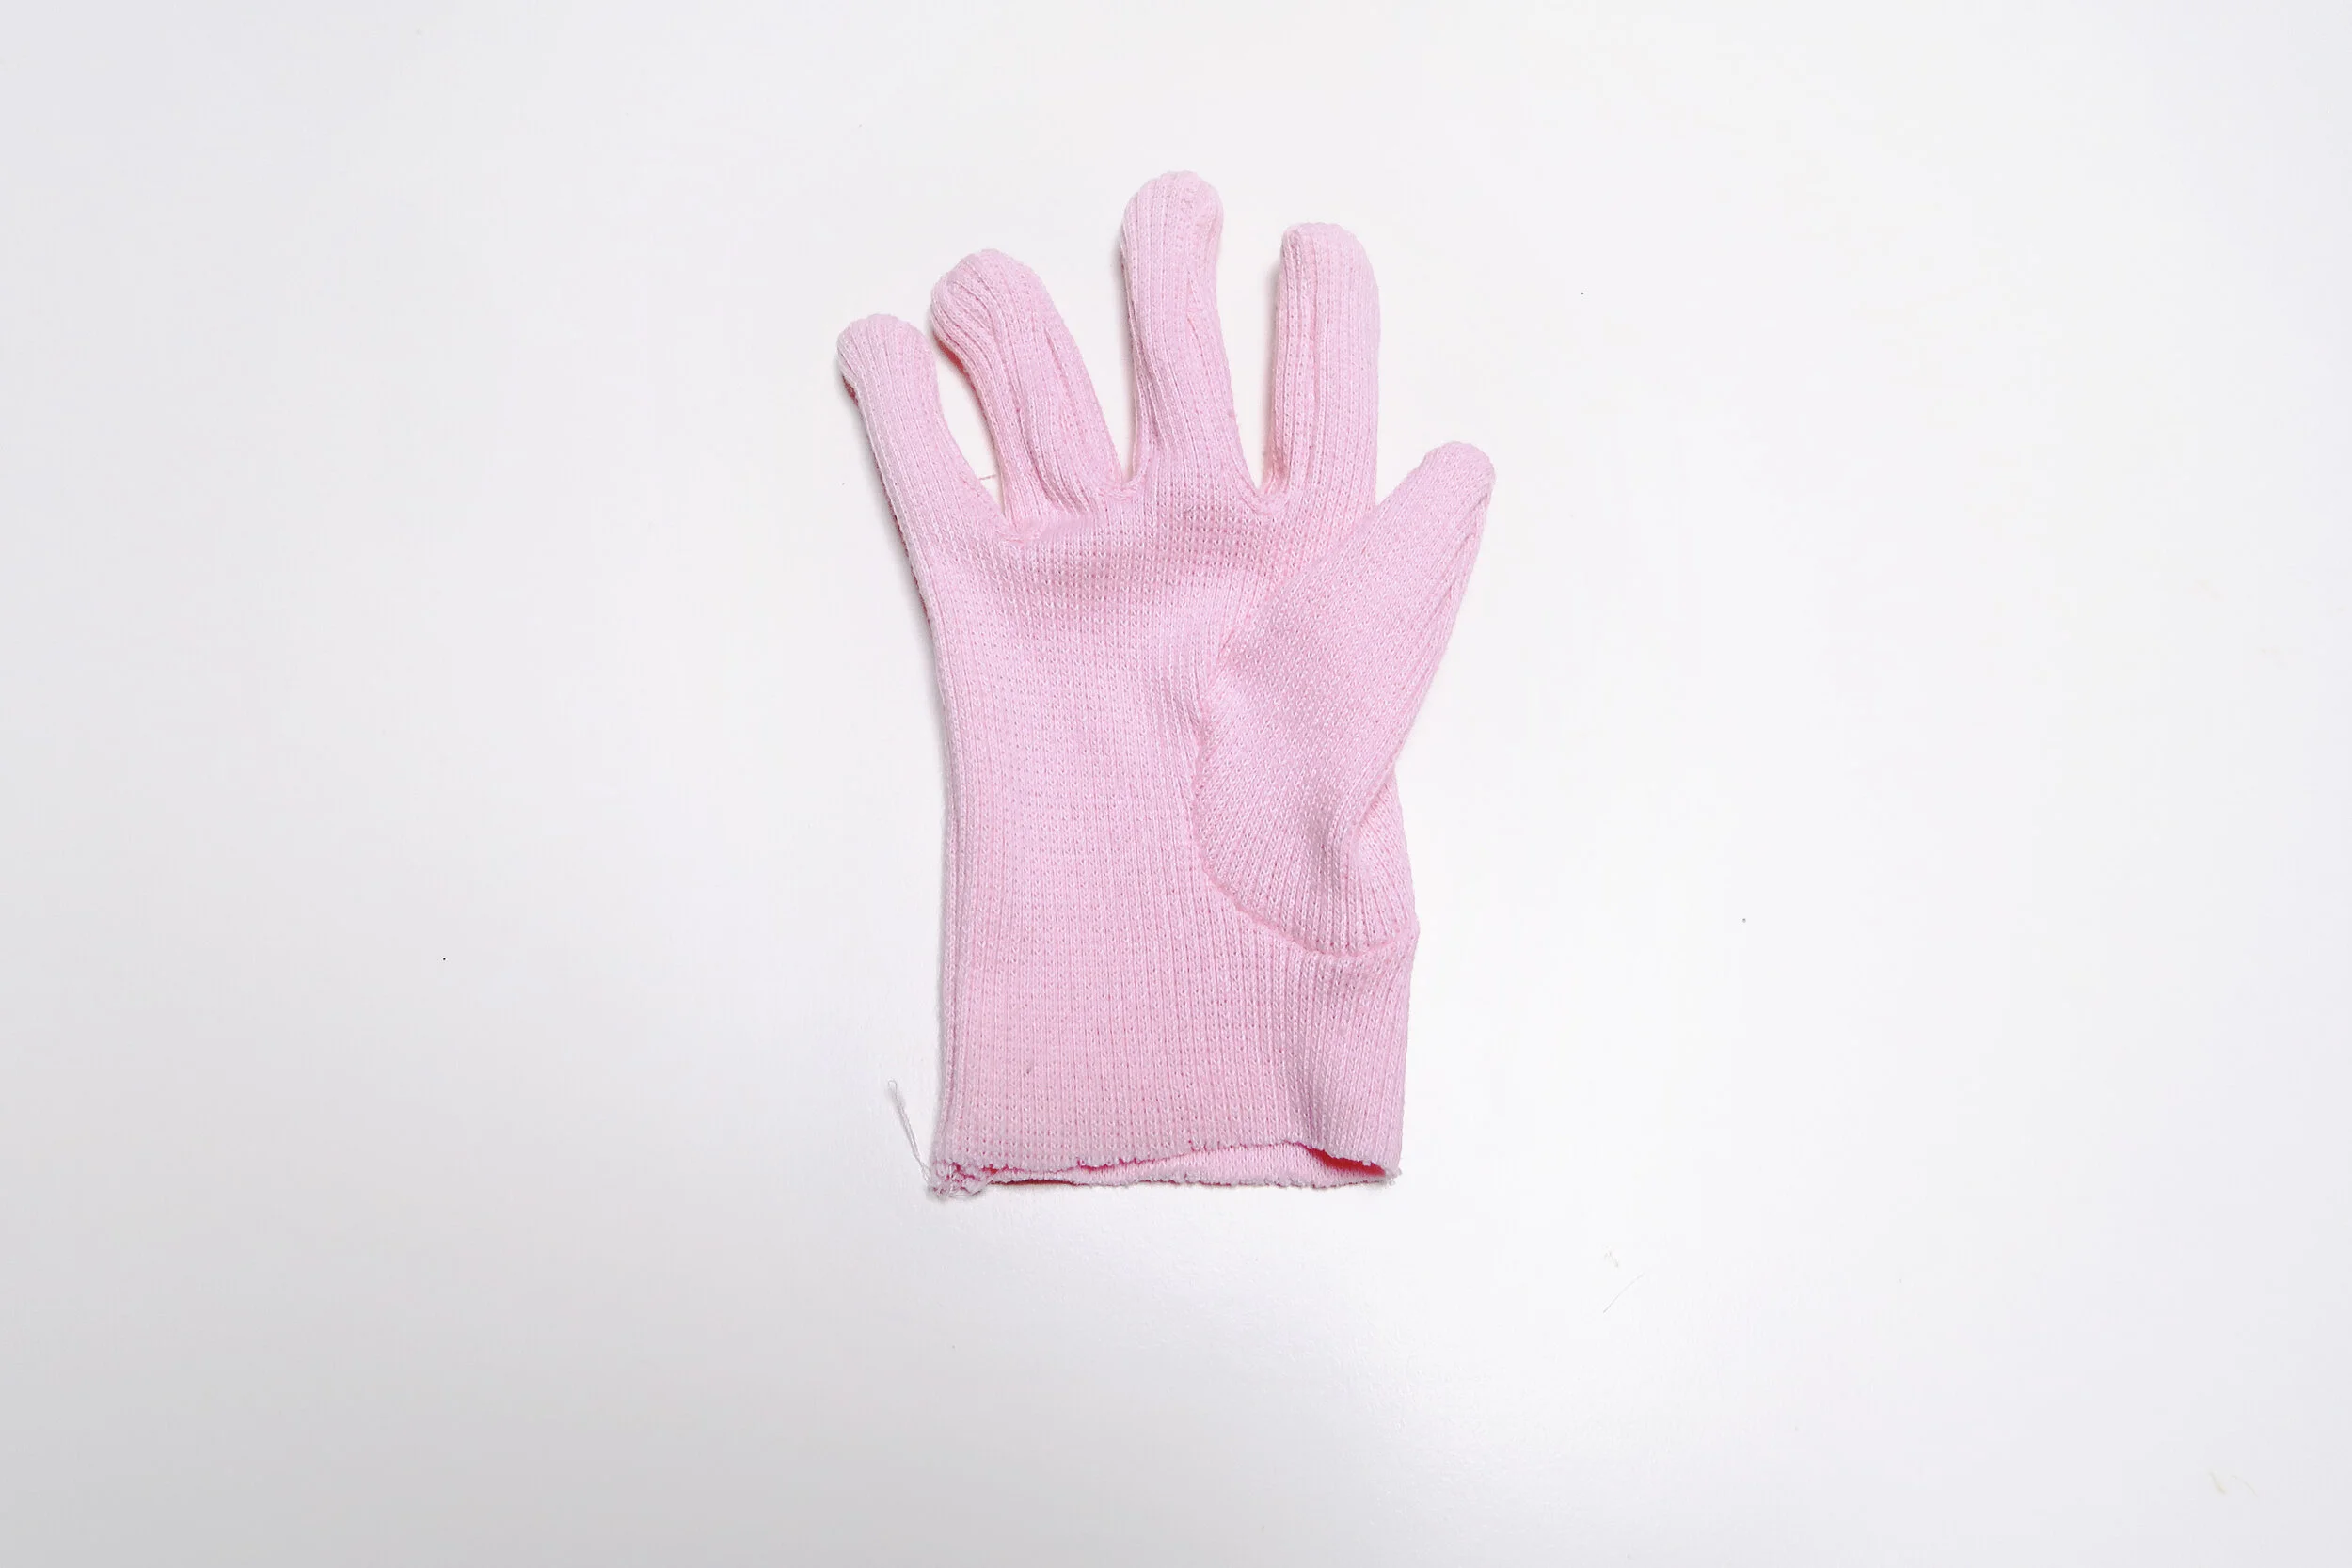
Materials
To make your sample gloves:
Paper and pencil
Cheap stretch fabric (with similar stretch as final fabric, to make sample gloves for sizing)
Matching thread
To make your final gloves:
0.5m stretch fabric (lurex, stretch satin, stretch velvet, spandex all great)
Matching thread
Pattern Pieces
Thumb
Hand with thumb hole
Side finger gusset (index-middle finger, middle-ring finger, ring-pinky finger)
Instructions
Increase the image size until it looks like it will fit your hand (I blew up the image 500%)
I trace the pattern piece onto paper from my laptop screen, but you can also print it off. Remember to include the notches! (tip of finger, top and bottom of thumb hole, in between finger notches)
Make sure there is about 1/4” (0.5cm) seam allowance around every piece.
If you have 2-way stretch fabric, make sure to cut the glove to stretch horizontally, so it can stretch to the width of your hand. If you have a four-way stretch fabric you can cut either way.
For instructions on how to sew the glove, click here for Sew-ing’s tutorial

This was the first glove and it fit too big and loose. I wanted a snug fit, so I made another glove but chanfed the photo 400% zoom instead of 500% zoom.
This second glove was a better fit, but I found that the fingers weren’t long enough and the thumb position was too high.
In order to fix this problem, let’s adjust our paper pattern!

6. I added 1.5cm to the top of the fingers to lengthen the height. Just extend a straight line up and follow the curve.
7. To lower the thumb position, cut a straight line in between the fingers and thumb hole. This way you can keep the position of the thumb, while lowering it 1cm. Add paper and tape in place.

8. Remember to add the same amount on each side finger pattern piece. I added 1.5cm to the top, and to the bottom of each piece.

After the adjustments it had the perfect fit! From here we can lengthen the pattern piece to make a full length opera glove.
9. Wear the glove and measure from the hem up to the desired length on your arm and add a 1/2” (1.3cm) seam allowance. I measured past the elbow, 50cm in additional length. (You can flare out the sleeve as needed for your arm size and adjust the width as needed).
10. Cut out the pattern in your final fabric and sew it up per instructions!